Today I want to show you a little more of our home and what we’ve accomplished.
Before I move on and introduce you to our renovated dogtrot and living room, I need to get a little more caught up on things we did to our house months before I started my blog.
One of the things we did was renovate our master bathroom.
Because I don’t want to make this post (or any post) overly long, I’ll tell you what we did and share reveal photos in a second post.
When we bought our place, our home had one bathroom situated between the master bedroom and the guest bedroom. Not that uncommon in older homes.
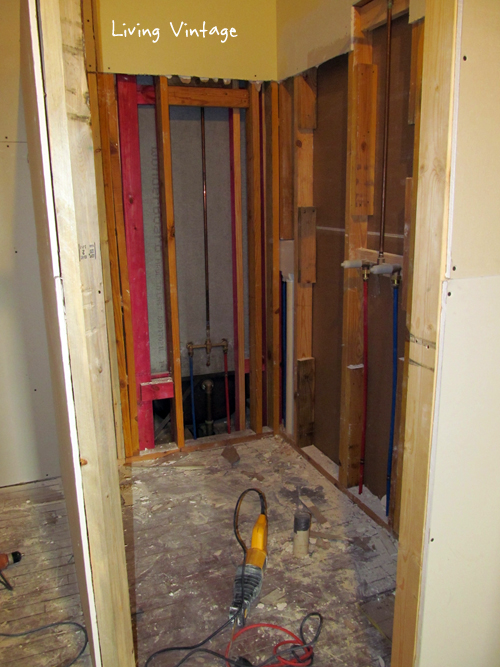
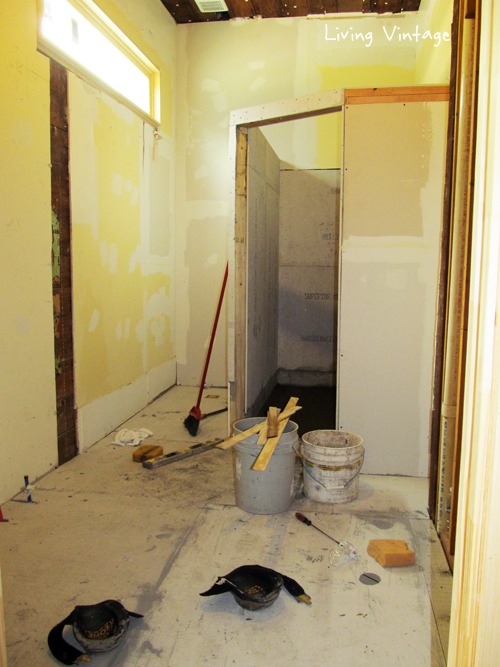
However, we wanted a true, ensuite bathroom. We put on our thinking caps and decided to combine the square footage of the existing bathroom with the square footage of a walk-in closet (shown here) to make two bathrooms: one for the master bedroom and the other for the guest bedroom.
(We’re still tweaking some finishes in the guest bathroom, so I’ll post about it another day.)
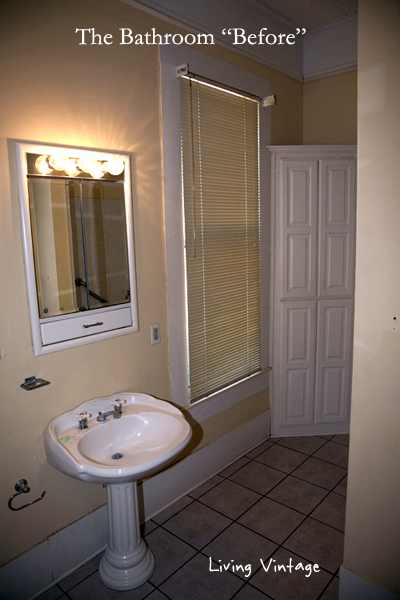
This is the one and only shot of the one, original-to-us bathroom.
Even if we had decided not to reconfigure walls, we knew we would renovate the space. It was terribly outdated and ugly. The medicine cabinet was one of the ugliest I’ve ever seen, and I’m not a huge fan of corner cabinets. Although in theory, they tuck into an unused space, they provide very little storage room.
The bathroom was also in bad shape. The toilet leaked and the floor was spongy underneath. The pedestal sink was cracked and needed to be replaced.
Plus, it wasn’t configured very well. The toilet was the first thing you saw when you entered the room (behind me as I shot this photo). And there was a large window right in front of the shower (the one you see above). Granted, we live out in the middle of nowhere, but still, it would have freaked me out to have that window there. We would have always had to open and close the blinds, and I like lots of natural light.
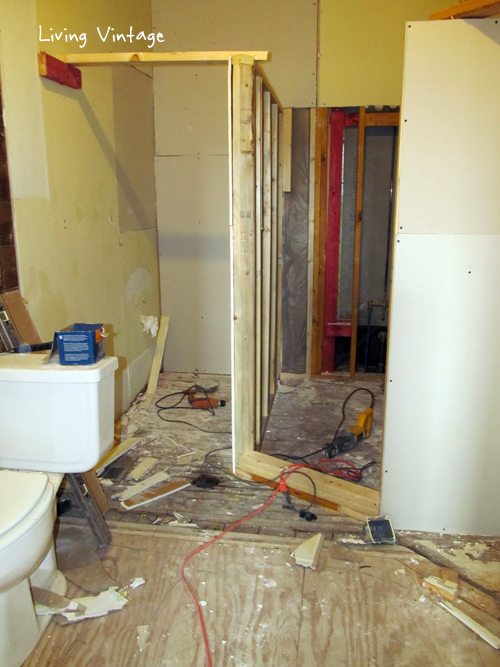
So, after we reconfigured the square footage, tore down walls, and rebuilt new ones (which I don’t have any photos of!), we started work on finishing our master bathroom.
Here’s what we did.
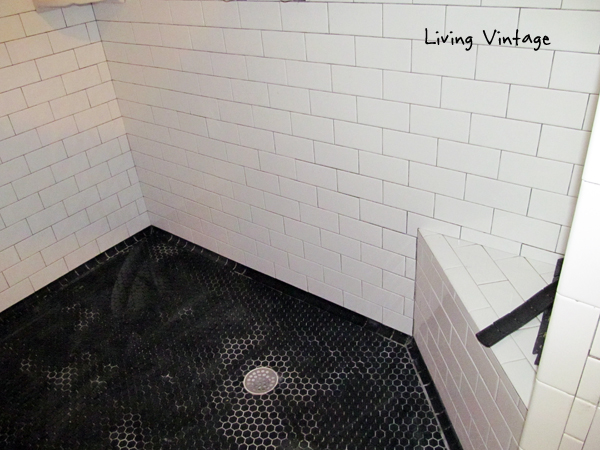
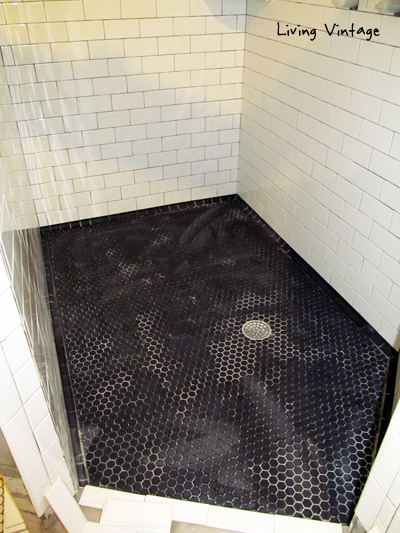
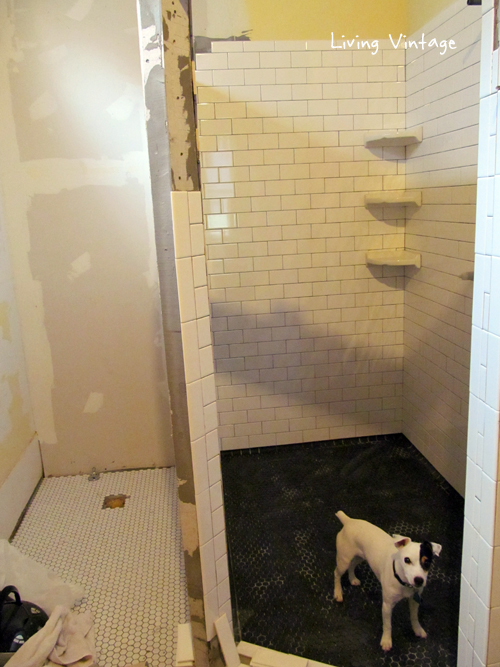
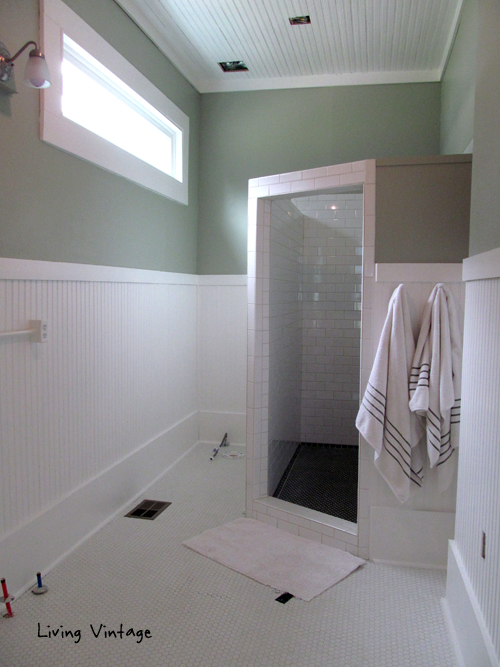
We framed a big custom shower that my husband insisted upon. I could have lived with a smaller shower, but he’s a big man and wanted plenty of elbow room.
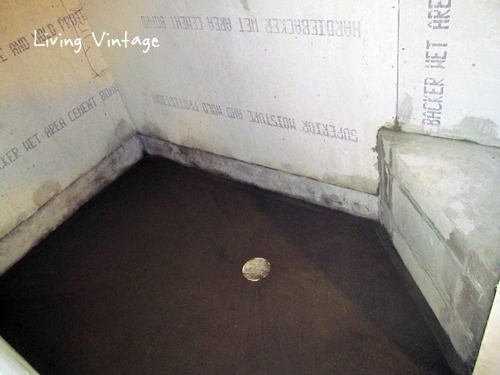
A custom shower size requires a custom pan, so that’s what you see in the photo above. I also wanted a small bench seat.
We tiled the shower using white subway tiles for the walls and bench seat. We chose black hex tile for the shower floor, and white hex tile for the floors in the rest of the bathroom.
I LOVE hex tile and have used it before. It’s my go-to tile for bathrooms because it’s period appropriate AND pretty.
We decided to tuck the toilet in the corner.
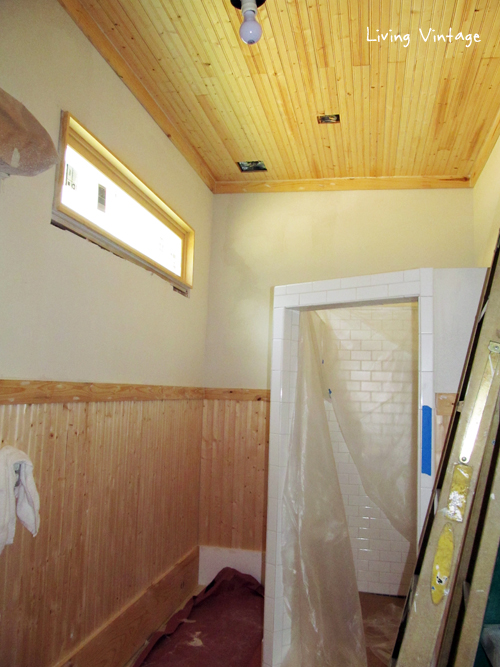
We installed a fixed transom window in a convenient spot in the room. I really like transom lights in a bathroom. They provide plentiful light without sacrificing privacy.
We patched the drywall also.
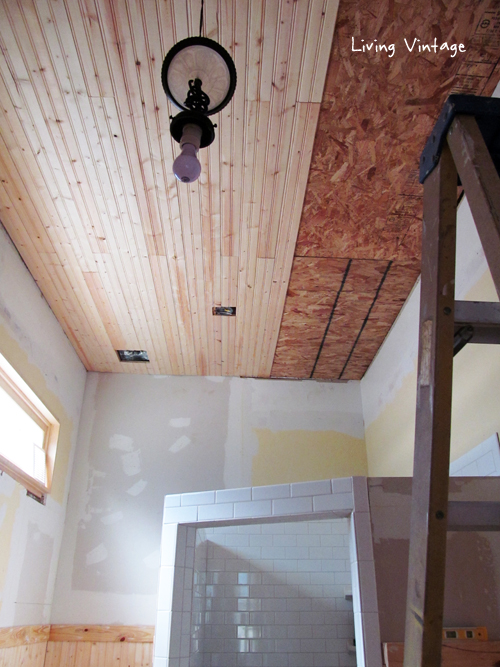
We nailed new beadboard planks to the ceiling and walls … and we installed trim also. (We didn’t have reclaimed wood readily available at the time. All of this work was done well before we started our salvage business.)
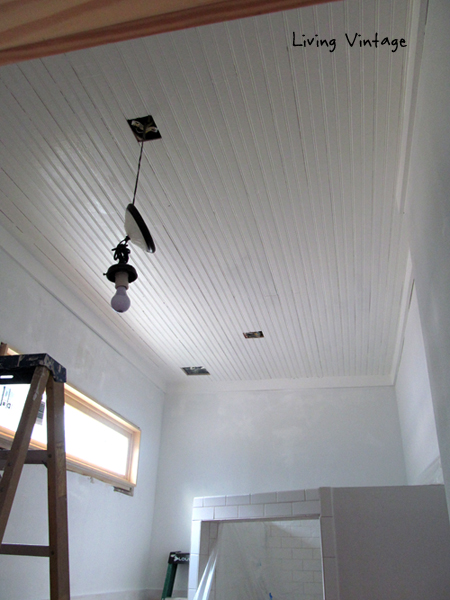
We painted the ceiling white …
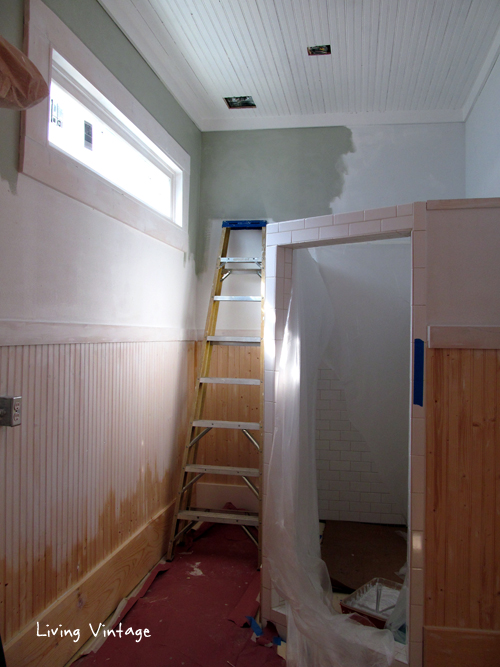
….. and one time that Mark was out of town on photography business, I painted the walls green and the beadboard white.
(I normally choose more muted colors than the green you see, but I allow myself to use bolder, darker colors in small rooms like bathrooms.)
We installed two towel hooks.
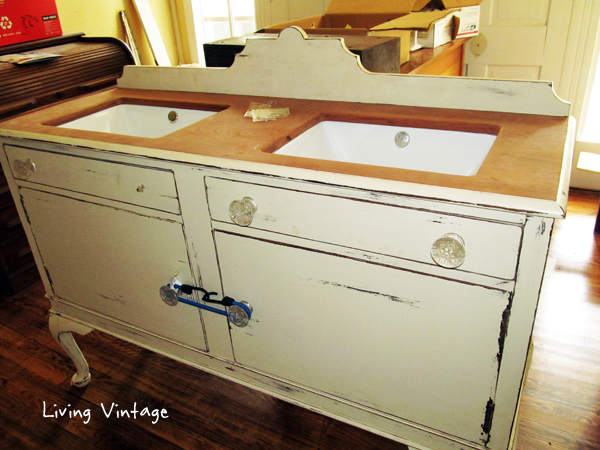
We built a custom vanity out of an old buffet cabinet we bought at an antique store in Crockett.
The top was painted like the rest of the cabinet, but it was scratched during the process of installing the sinks, so Mark sanded it all the way down to bare wood. He presented me with this news when he brought the cabinet into the house.
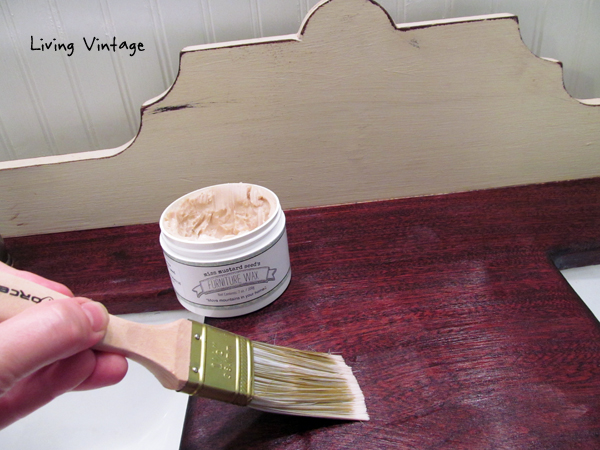
At first I thought, “Oh crap. Now what?” But, not to worry. I sealed the top with Miss Mustard Seed furniture wax which deepened the color of the natural wood tremendously …
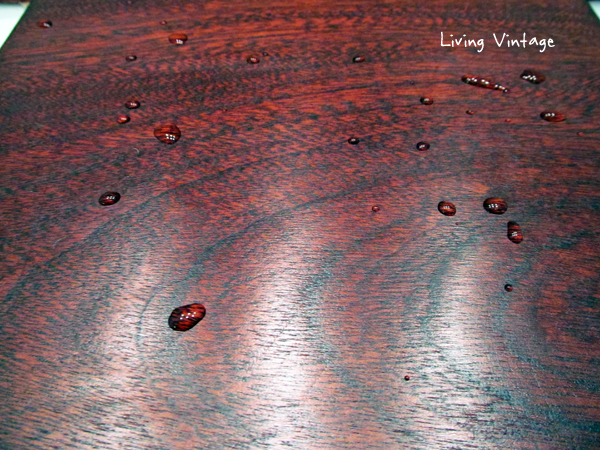
… and helps protect the wood against constant bathroom moisture.
I will say that I’m not convinced that wax is an adequate barrier against everyday moisture, so I may eventually paint the top.
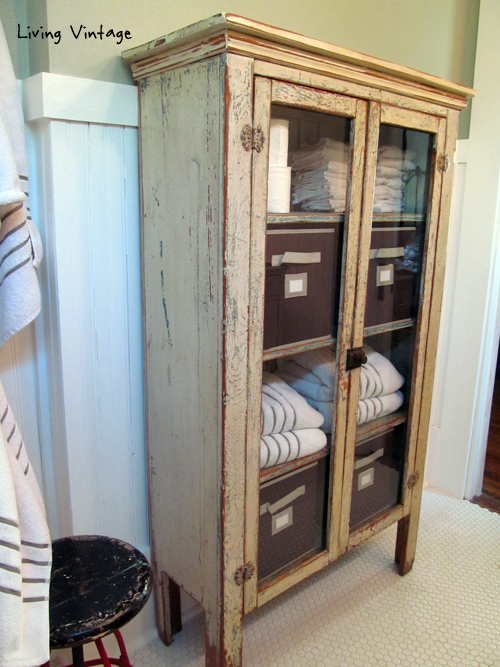
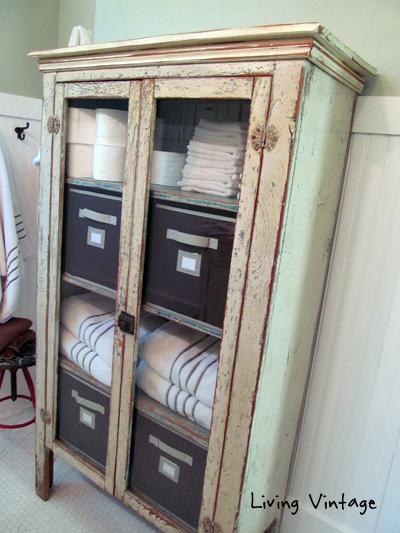
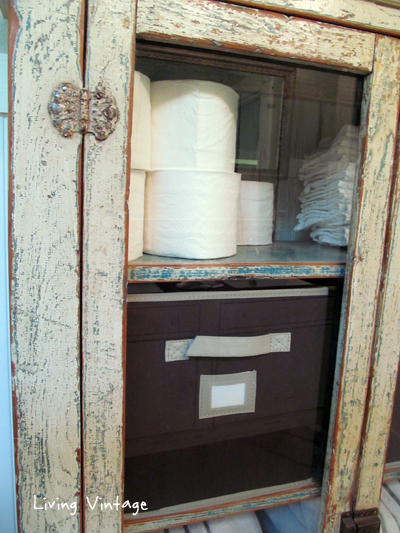
Because our master bathroom is skinnier than our previous bathroom in Austin, we weren’t able to use a stepback cabinet that’s still living in our dogtrot. Instead, a chippy cabinet I’ve owned for years was moved into the bathroom to provide much-needed storage for bathroom necessaries.
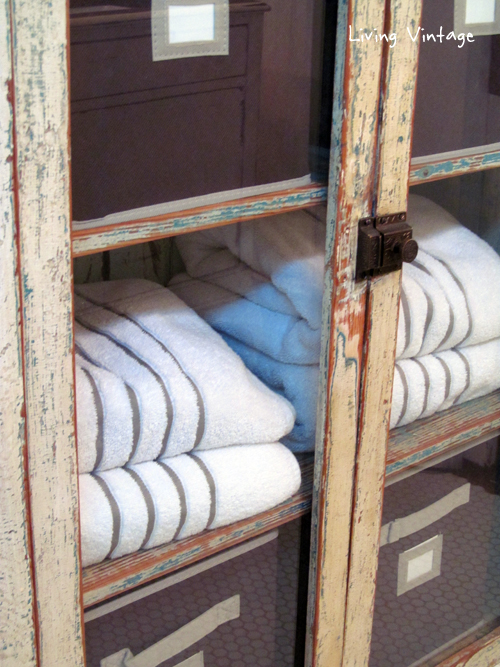
The fabric bins are Martha Stewart. I bought them at Home Depot or Lowe’s. I can’t remember which. They were a perfect fit.
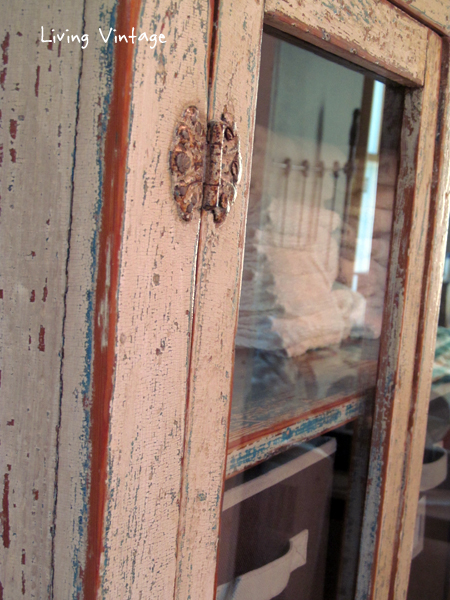
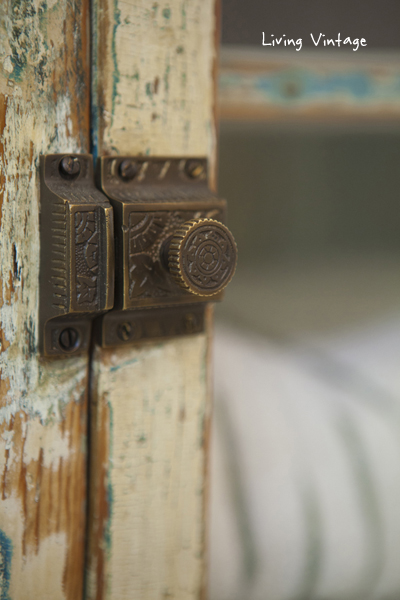
We had to repair a broken latch on the cabinet, and we found one at Van Dyke’s Restorers that was almost identical to the original.
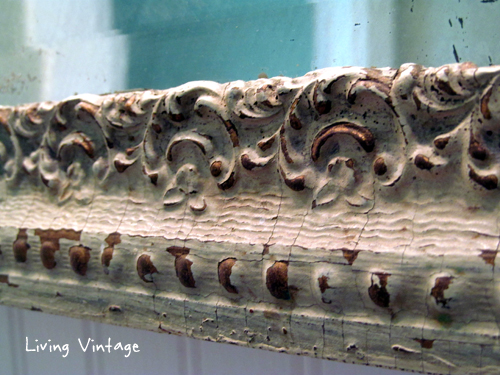
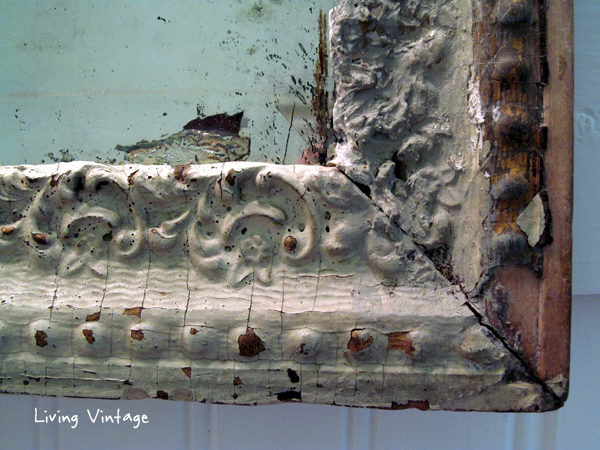
We also hung an old, chippy paint mirror that I bought at the Marburger Farm Antique Show many years ago. It’s incredibly heavy and old and has wonderful patina.
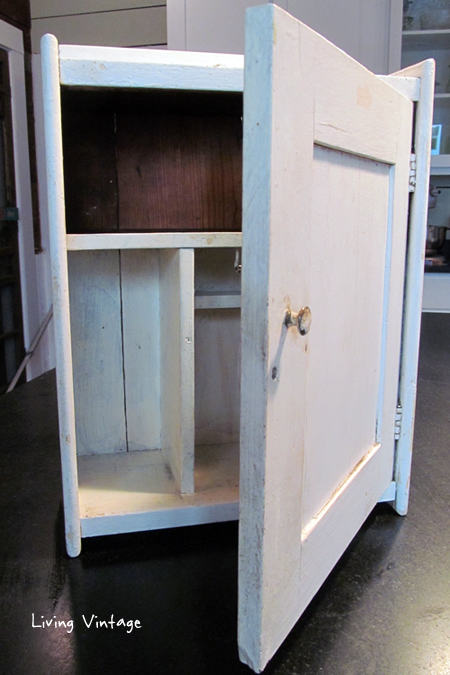
The last thing we did was buy a small medicine cabinet from one of my favorite antique stores. We needed a little cabinet for small things we use often, like toothbrushes, hairbrushes and nail clippers. It’s perfect for that.
And that concludes how we created our ensuite master bedroom. Next up: the reveal!

Perfection as usual LOVE it!
Thanks for your confidence in me, Kelly!
Love your house! We have taste so much alike! However my little house I think would fit into your master bedroom! Oh I wished we lived closer! I could see us getting into trouble together! Hugs
I do wish I had a small tribe of girlfriends who I could go on adventures with and bounce ideas off of. For now, I’ll just have to rely on the few friends I have here … and my blog. Oh, and speaking of which, thank you so much for listing my blog on your site. What a huge compliment!
You have taken care even of the smallest thing, love your perfection, love your home.
Thank you so much! I just took a quick peek at your website and I love the classic architecture homes as well. Are your house plans for sale?