I promised that I would tell you about our kitchen backsplash fiasco.
But first let me tell you about the backsplash that we put up and have loved since day one.
It started with some green beadboard we salvaged from the old place in Grapeland.
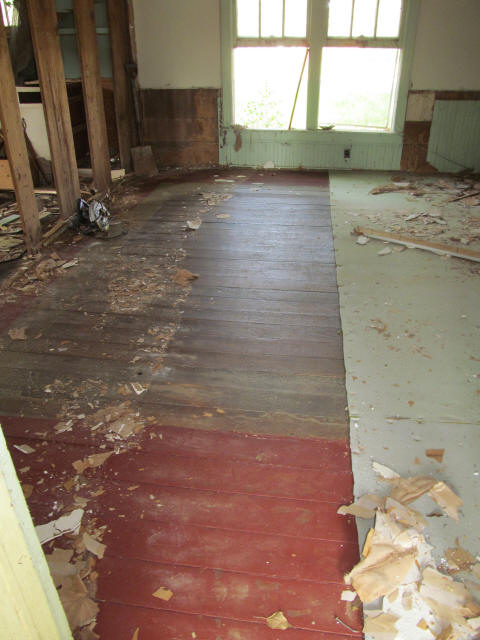
The beadboard was only about 3-1/2 feet in length and used as wainscotting in the old house — you can see a glimpse of them to the right of window in this photo:
I mention this only because the guys threw it away thinking it was way too short to keep!
Well, I wasn’t having any of that! I grabbed it and saved it, knowing that I could use it for something.
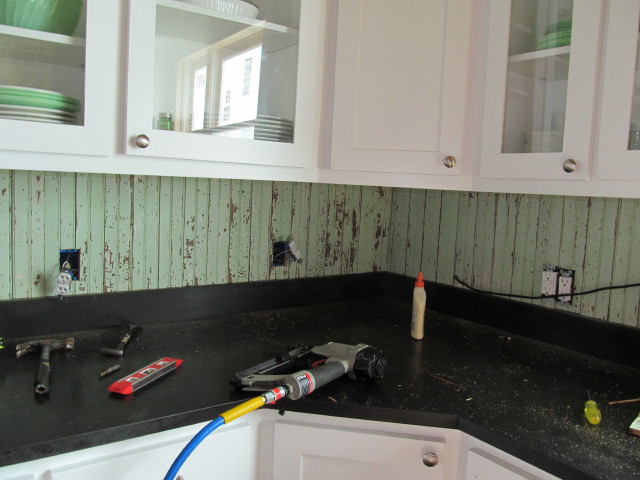
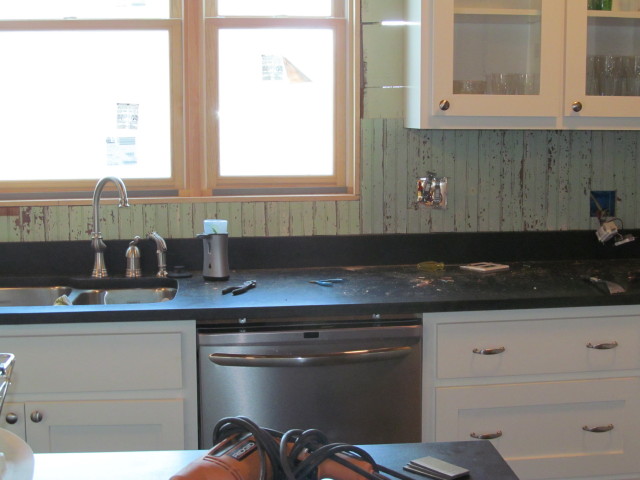
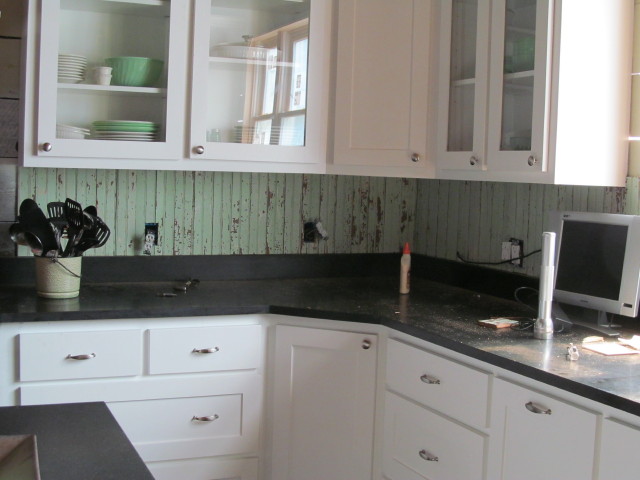
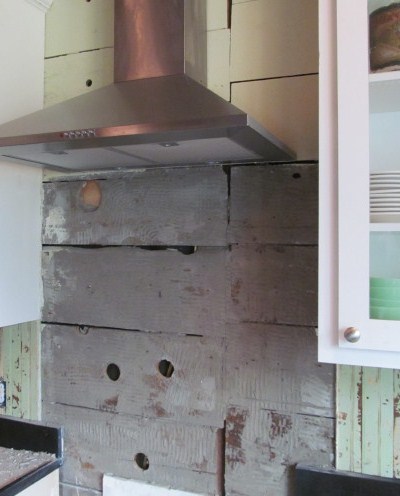
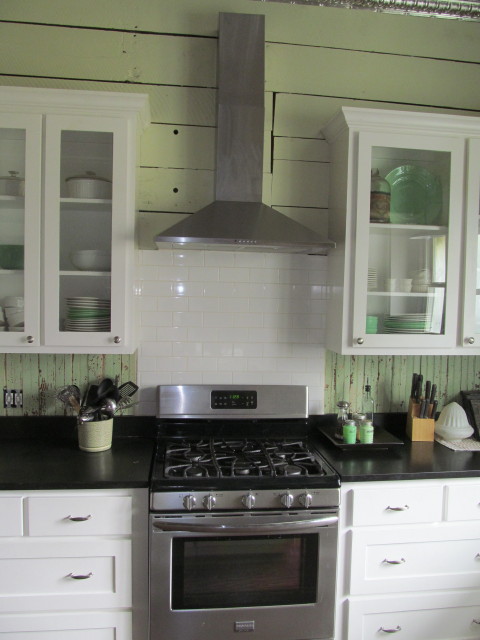
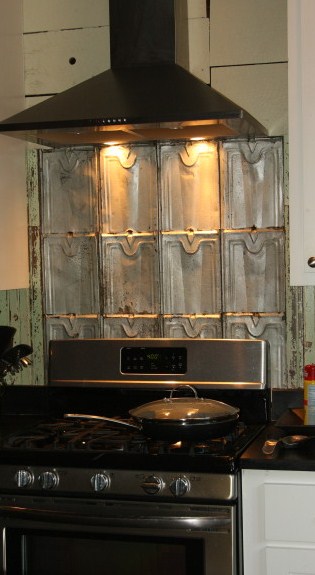
And that something was the backsplash for my kitchen, everywhere except for behind the range.
I know that tile is the material of choice for most kitchens, but I had a beadboard backsplash in my Austin kitchen, and I just loved it. It was easy to clean and I loved the look.
Now I used new beadboard planks for my Austin project and painted them white, but using reclaimed beadboard planks with original paint? Even better.
Here’s what we did.
I sanded down the planks and cleaned them. Here are my pretty boards, ready for install.
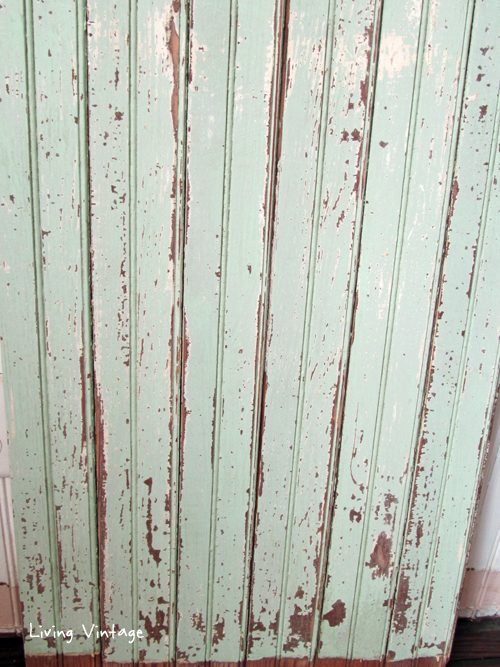
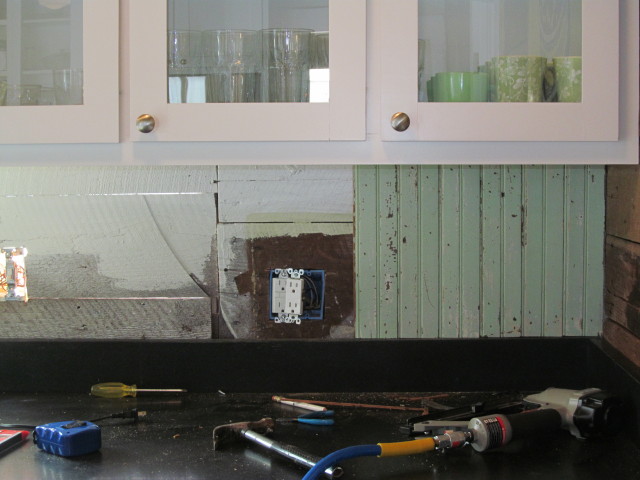
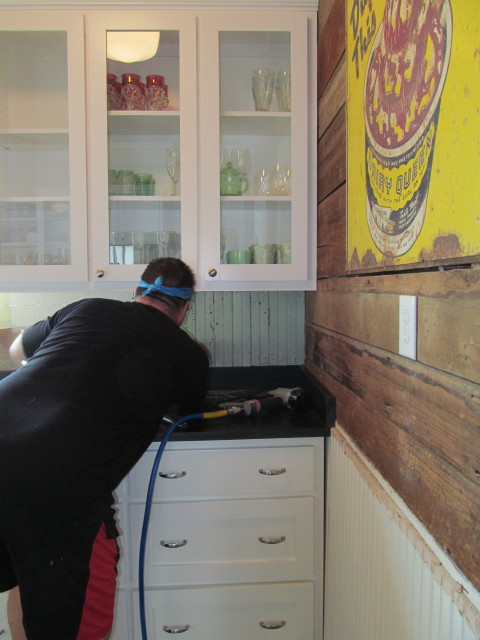
Mark cut them down to fit and installed them in a day.
After installation, I brushed on two coats of satin polyurethane to prevent paint from flaking off in the future.
I LOVE my green beadboard backsplash!!!!!
Love it, love it, love it.
Now the question was, what were we going to do for the backsplash behind the range?
I like to use a non-flammable material for behind a range, so we started shopping for tile.
And this is where the saga begins.
Before I go any further, I’d love to be able to tell you that I never, ever regret a design decision. That I am steadfast in my design decisions and never look back.
Not.
It’s true most of the time. What I think I’ll like, I do, in fact, like.
Or even love.
Unfortunately, sometimes that’s not the case. I’m human and fallible. I make mistakes. And, I try to laugh and move on.
So … let me bare my soul and tell you the story.
We bought a green mosaic tile that I thought was so pretty. An expensive green mosaic tile, I might add.
We had our tile guy install it.
I hated it. That surprised me greatly, because I had used a mosaic tile with my white beadboard in my Austin kitchen.
Aha! That was part of the problem: color. The emerald green in the tile clashed with the mint green in the beadboard backsplash.
Not only that, but the mosaic tile was way too modern-y next to the reclaimed beadboard.
One of them had to go, and it wasn’t going to be the beadboard that I loved instantly.
I hated it so much that I could barely look at it without cringing, and I certainly didn’t have any desire to reach for a camera to shoot a photo — remember I hadn’t started my blog back then!
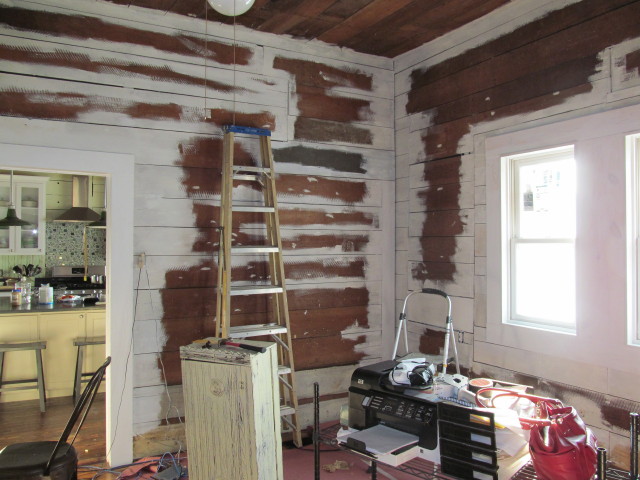
Luckily, you can catch a glimpse of it when I shot this photo of painting our home office.
Yes, we had spent good money buying the tile and having it installed. But I realized I was never going to be happy with it.
My husband didn’t care for it either. Just as important, he just knows that his life is much more pleasant when I’m happy.
So, say bye-bye to the first iteration of the backsplash behind our range.
Next, we decided on a tile that we knew would not compete with the beadboard backsplash. It’s also a classic look: white subway tile.
It wasn’t terrible.
(I must say that if this is the best way you can think of to describe something, it must mean you didn’t hit the mark.)
I can’t really put my finger on the exact reason why, but much to our mutual dismay, neither of us liked it.
It was just too stark white. Too plain. Too blah.
It was beginning to look like tile wasn’t going to work, and we began searching for an alternative. In the meantime, we decided to live with the white tile.
We found the perfect solution months later.
I knew it the minute I saw them at one of my favorite antique stores in Georgetown.
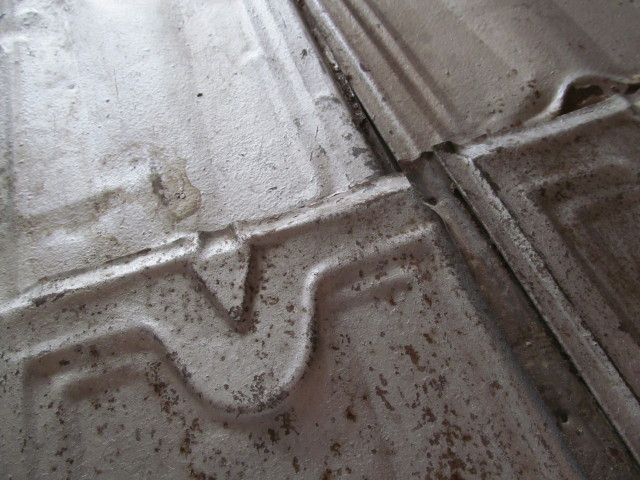
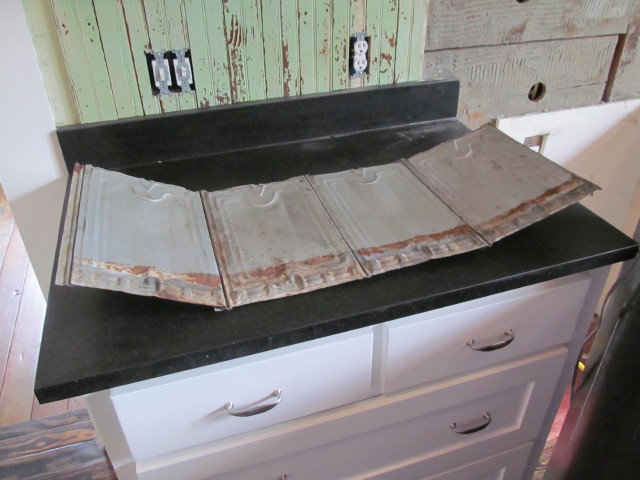
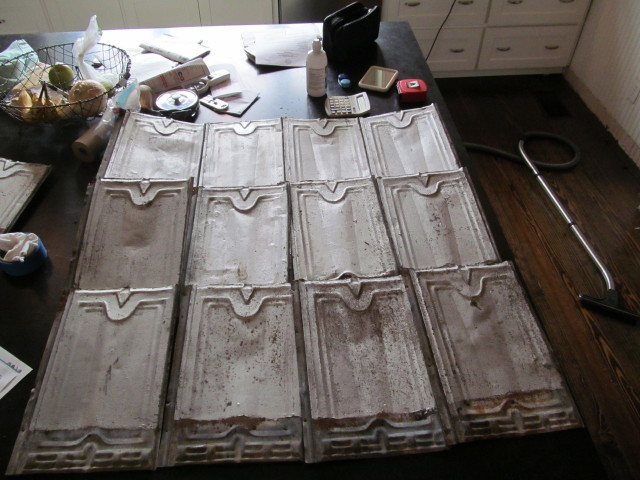
Salvaged roofing tins.
Yep, industrial metal perfection priced at only a few dollars each.
They were perfect.
We didn’t have measurements with us, so we weren’t sure how many we needed. Turns out we needed only twelve of them.
Other than a little bit of grime that came off easily with dish soap, they were ready to install when we bought them.
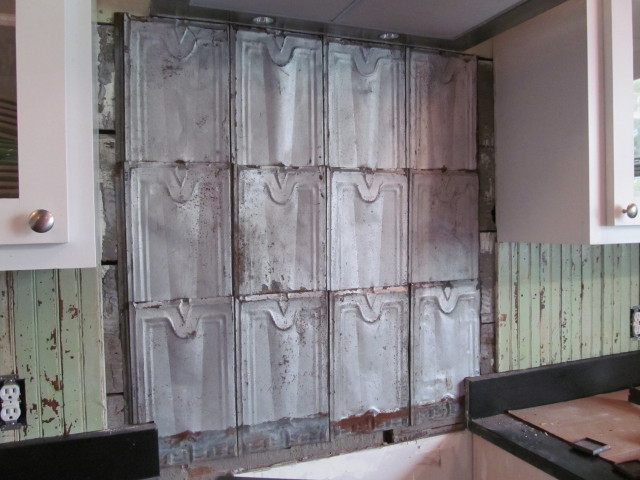
The tins locked together like a puzzle. Makes since since they were once used as roofing shingles.
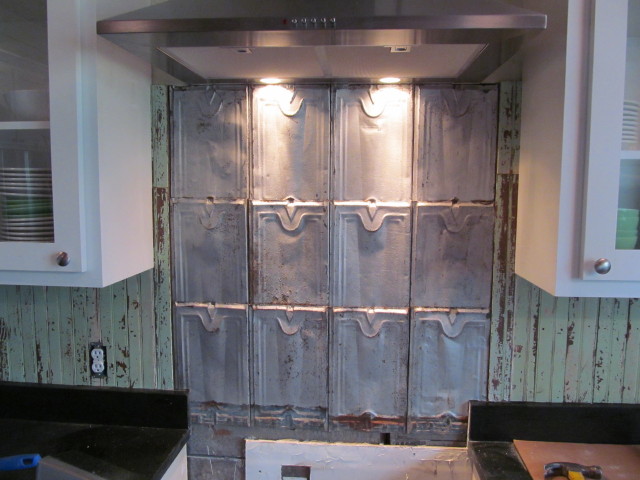
They went up in a jiffy.
After that, all we needed to do was install trim around the edges.
This look may not work for everyone, but for me, vintage industrial is just my thing.
I suppose you could say I’m like the homeowner featured in a past Midwest Living article: ““I didn’t want my house to look like anyone else’s house. I wanted it to look like me.”
So that’s the story of our kitchen backsplash.
Hope you enjoyed it!
I have a few finishing touches to share with you next time, plus it’ll be time for ….. the kitchen reveal!!!!
******************************
I read and appreciate every comment. Thank you for letting me know what you think!
******************************
I’m linking to these parties:

I laughed to myself when I read what you put about the white subway tile because as soon as I saw the picture I thought to myself, “Seriously?”. Then I saw what you finished with and I must say AWESOME. I can’t wait to see the big reveal!
I know! Big fail with the subway tile.
bloody fabulousoty …love everything about it!
good decision! love the look!
Thanks, Jenny!
Kim – I found you while looking for a “dogtrot” house plan and I am so happy that I happened onto your lovely blog.
I too instantly “know” when I hi the mark on a design decision. And I laughed at your story because you are so right. Sometimes living with a mistake is the worst possible punishment. Even the money loss hurts less.
I LOVE LOVE LOVE the tin backsplash. I’m reading backwards so I saw the reveal post before I saw this. Your kitchen is wonderful.
I know! I hated to spend money THREE times on the same space, but I just couldn’t live with iterations #1 and #2. Thank goodness the roof tins were so inexpensive — they made up for the amounts I paid before.
I’m so happy to know how you found me — glad to know that SEO is working!
Kim, please, please, tell me what color green paint that is…I see it on the internet called “depression green” but can’t find it in the paint stores. HELP! You kitchen redo is awesome!
Dixie,
Are you talking about the wall paint? If so, we used a Benjamin Moore color called “Nantucket Breeze”, but we bought Sherwin-Williams paint and they matched the color. The formula is:
B1 Black 3, 1, 0
G2 New Green 2, 0, 0
Y3 Deep Gold 22, 1, 1
I very much LOVE your blog!! Your backsplash is just exactly what I would love to do in my 100 year old farmhouse. It gives your kitchen SO much character. The green paint is just perfect. Keep up the wonderful work !!
Thank you SO much, Paula. I’m delighted that you love it. I love my backsplash, and it’s a very affordable way to go!
I had to laugh…as I was reading take one and then take two…I was saying to myself, metal…it needs metal…roofing or similar! I’m so sorry you had to go thru the expense but so often I’ve regretted something we’ve done and just lived with it. So much better to take the hit & love it!
Well, darn! If I had started my blog back then and asked for help, maybe I could have saved myself some money. 🙂 I’m so glad we made the change, despite the financial hit.
I love your solution. I too have been living with an unhappy non-solution to the back splash problem. I have not done anything, except gripe about it. I especially love that your solution didn’t cost a zillion dollars. I am also an avid fan of beaded board and am interested in your use of a “scrap” too small to use.
The one scrap wood that I never think is too small to use is beadboard, but really any wood scraps can be saved. I think that multiple colors of old beadboard in various lengths would be fabulous as a kitchen backsplash or as an accent wall. Also, as another example, on our master bedroom mosaic wall, if you’ll take a look at some of those photos, we used old flooring pieces as little as 6 inches in length.