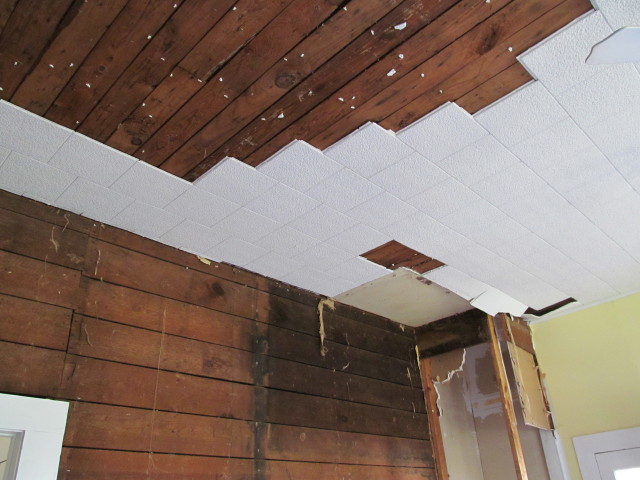
We knew when we bought our house that we would take down and toss in the garbage horrible, cheap acoustical ceilings. They were incredibly ugly styrofoam squares that fit together like a puzzle, and they were in almost in every room, including the kitchen.
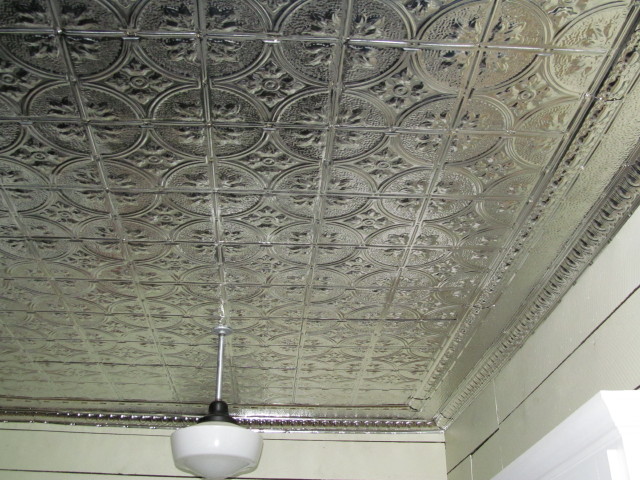
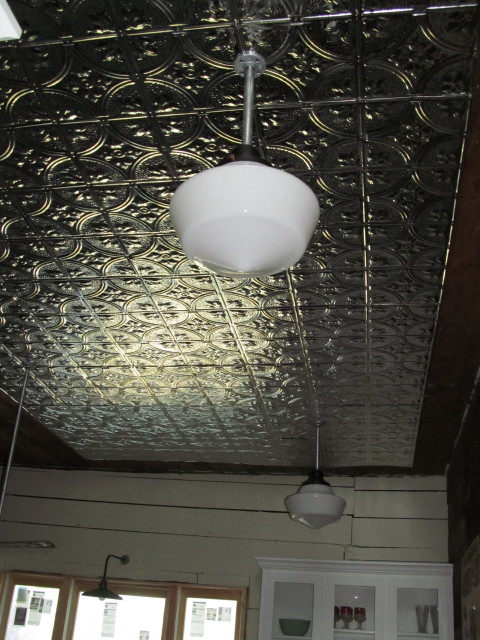
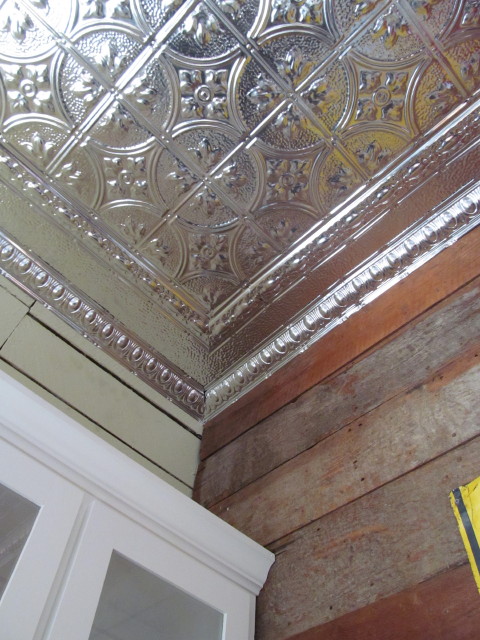
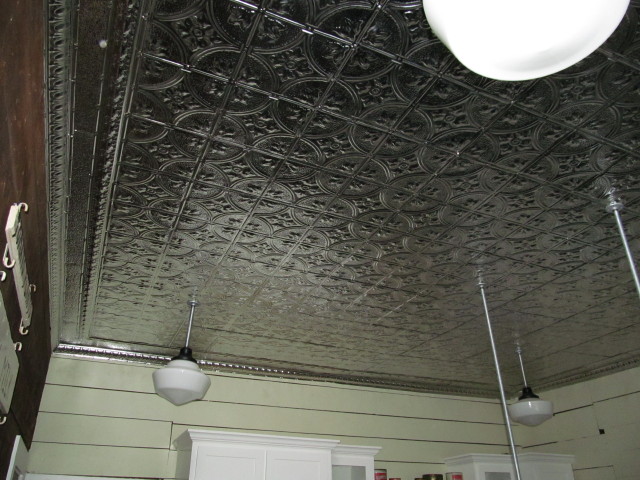
Because our home was built in the mid-1800’s, we decided to install a vintage-style tin ceiling.
Why The Acoustical Ceilings Were There In the First Place
We removed them in the living room, laundry room, and home office within a few weeks of closing. We quickly came to the realization that while they were no doubt ugly, they did fulfill a purpose: they were preventing attic grime and blown-in insulation particles from drifting through the gaps in the ceiling boards.
For this reason, we decided to leave the acoustical ceiling up in the kitchen for as long as possible. We didn’t want grime and insulation in our food, for sure!
Heads Up! They Are Coming Down.
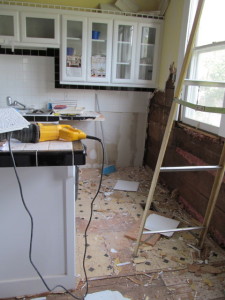
When we started demolishing for the kitchen remodel, the acoustical ceiling squares finally came down. Despite all the grime, I was so happy to see them finally thrown away.
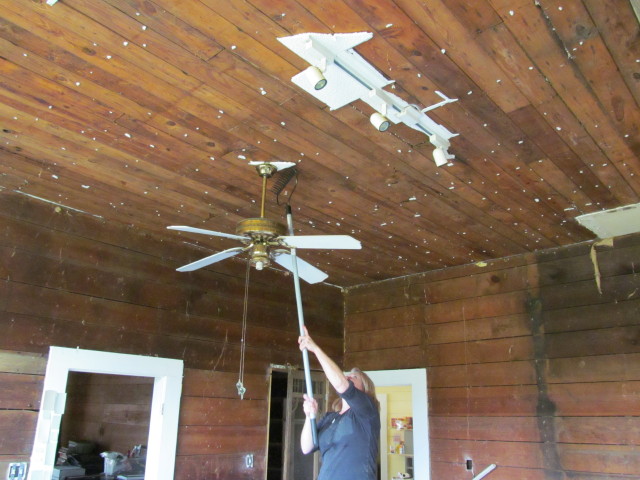
(I improvised with a rake. It proved to be a handy tool. Our ceilings are 11′ tall, and I’m scared of heights. That reason aside, I didn’t have to move a ladder around the room every 30 seconds.)
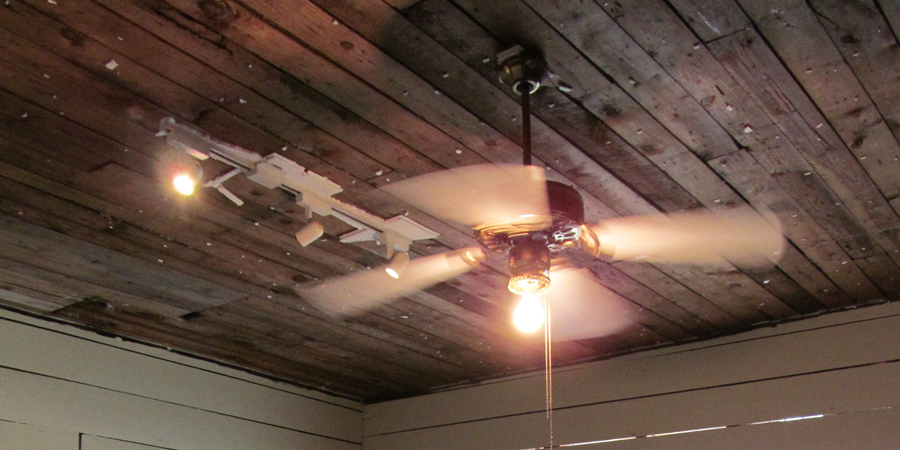
Anyway, down the ceilings did come, and we lived with bare ceilings (and an ugly track light and ceiling fan) for months while we focused on remodeling the kitchen and other projects.
Installing the Tins
We decided to install tin ceilings we bought from The Tin Man.
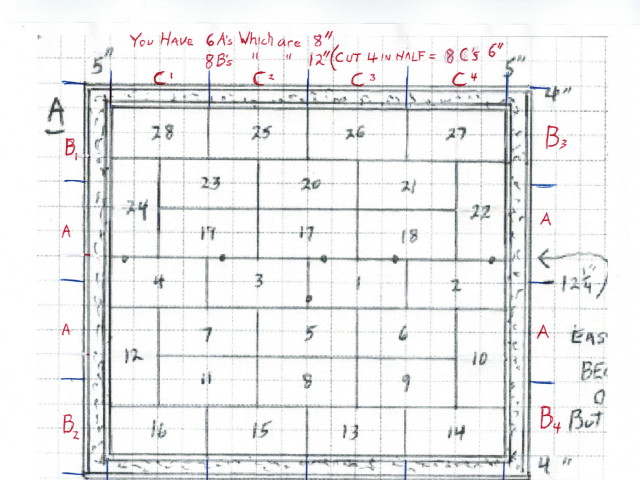
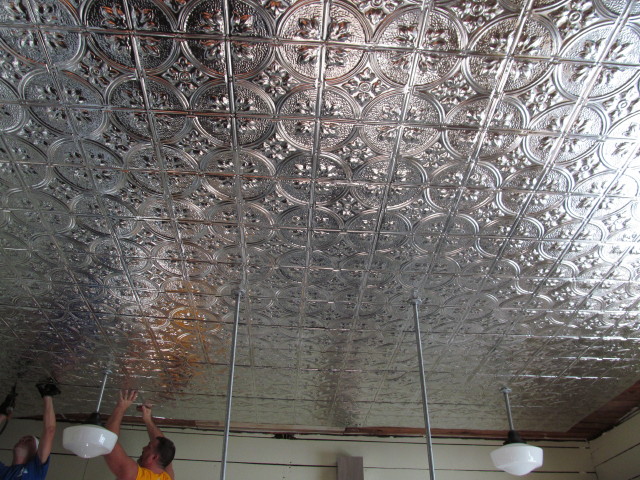
It was a little overwhelming because neither of us had ever installed ceiling tins, and we certainly didn’t want to screw up and ruin expensive tin. With help of a friend, instructions, and the layout plan we got from The Tin Man, we took the plunge.
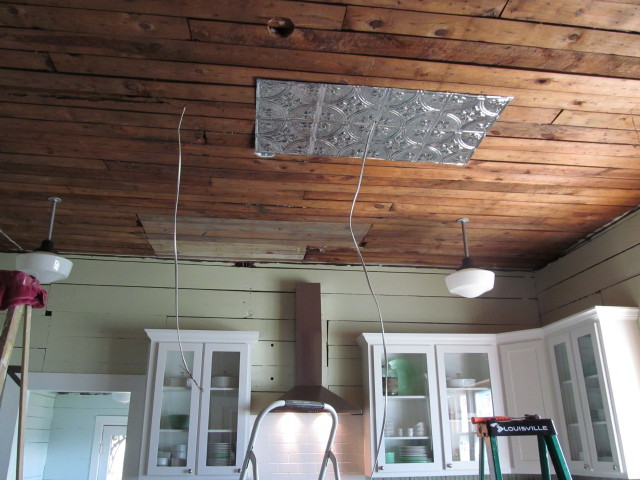
The scariest part (to me) was just getting started and stapling up the first 2′ x 4′ tin ….
… because the rest of them just fall in place after that. (Well, they don’t FALL in place, but you know what I mean.)
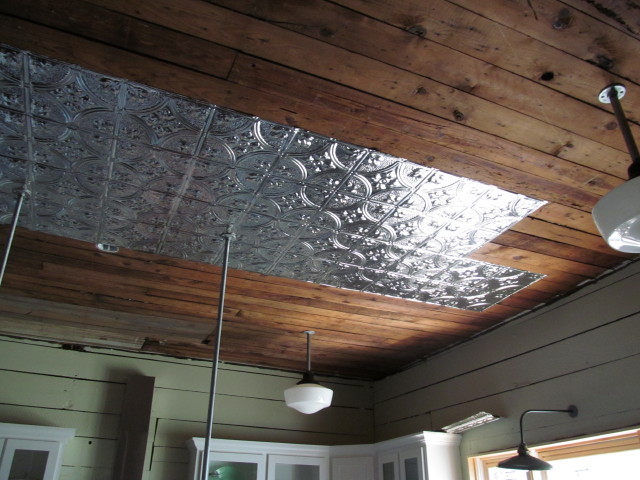
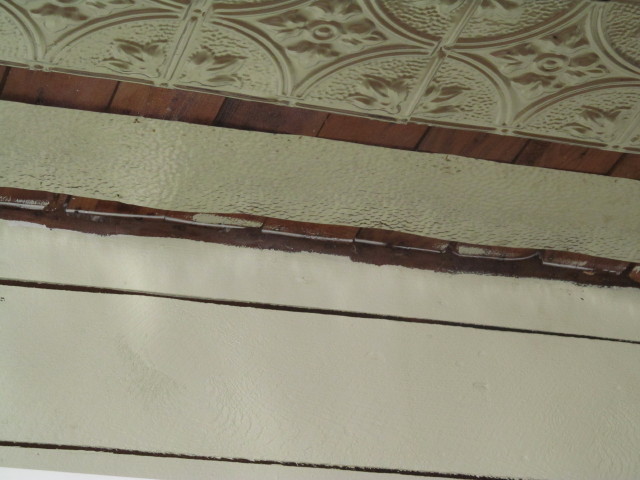
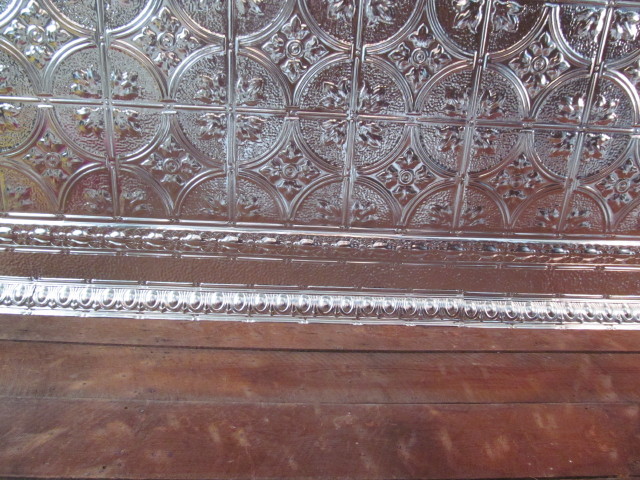
Once the 2′ x 4′ ceiling tins were installed, it was time to install the filler in the gap …
… then the molded filler and then the cornice.
The Finish Revealed
We are just delighted with the results. All we need to do at this point is seal the seams, and we’ll do that another day.
Wow you’re doing something similar to what we’re doing. quite a while ago I bought enough tin ceiling tiles to do our living room dining room (it’s open concept) but we never got around to completing the renovation. Now this year we’ve been puttering around and finishing off quite a few renovations that we started over the years and the tin ceiling is coming up … seeing your completed job gives me hope that ours will turn out as nice! Yours is lovely! Our ceiling is made up of prepainted tiles so it will have a different look.
Very nice!
We sure considered buying the painted tiles, but they were so much more expensive, and we figured that we could always paint the ceilings later if we chose to. I was unsure if I’d like the shiny silver, but turns out, I really like the look.
Please do send me photos of your project when you’re done. I’d love to see them.
Hey Kim,
Love your new blog! Your kitchen ceiling is awesome! Can’t wait to get over there and see it in person.
Mike and I will be keeping up with your adventures and your progress. We will soon be getting back to work on “This Old House” . Still have some finish work to do here as you know. We’ve got to get together again really soon!
Hugs to you and Mark and Casey (and is there another additional pup?)
Drue
We’ve been talking about having y’all over for dinner soon. Just not sure what date will work for us … yet. Definitely look forward to seeing you guys soon and would love for Maggie to meet Molly. (Still just 2 dogs: Kacy and Molly)
Hugs to you and Mike also.
Kim
Sounds like a good idea to me! OOPS! Tell Kacy I apoligize for spelling her name wrong….I, of all people, know all about that…LOL,LOL Looking forward to meeting Molly.
Hugs, Drue
We must have y’all over from a scrumptious dinner soon. Hugs to you also, Drue!
Love the tin ceiling! Hard work pays off again!
Thanks, Cher! We’re probably going to paint it because we are not thrilled about the shiny look. We are also installing an old tin ceiling to our home office. Looking forward to getting that project done and blogging about it.
Hi Kim,
So glad I stumbled upon your blog today! I love your tin ceiling in your kitchen! And 11′ ceiling – nice! – call me envious! I have an 80 year old bungalow and took out the crumbling/falling plaster this last spring/summer and replaced it with tin as well. It looks pretty fantastic. I rolled on some Rust-Oleum Clear Topcoat which gave the unfinished tin a little more a of a satin look but still has a lot of that fantastic shine. I was paranoid about moisture and issues with the tin coated aluminum tiles. Looking back it was probably overkill. Oh well! My question is about sealing the seams. I noticed on the link you provided it says to “10. Seal all seams by tapping with the head of a wide-angled chisel”. Did you do that around the seams of each individual 2’x4′ tile and the cornices or just the cornices? I am thinking that perhaps this fix the little finnicky areas I’m not quite happy with but keep trying to ignore.
Thanks again!
Honestly, we didn’t do step 10 on our ceiling. We just haven’t gotten around to it, and we mostly feel it’s just not all that necessary.
Loved your tin ceiling! I’ve always wanted one, but the only question I have about them is, “do they echo?
You should be able to tell, since you removed sound-proofing tiles to install the tin. I’m going to begin following your blog (It’s much better than mine!).
Gordon,
No, they don’t echo — at least I don’t hear an echo, and my husband has accused me of having bionic hearing.
So glad you decided to follow my blog! Welcome!!
Kim