We recently built office desks that are scaled-down versions of the DIY farmhouse table shown on Ana White. It’s the same table recently featured in Country Living. The minute I saw that table, I knew I wanted to make two for our shared home office.
I loved the rustic farmhouse look.
Buying the Materials
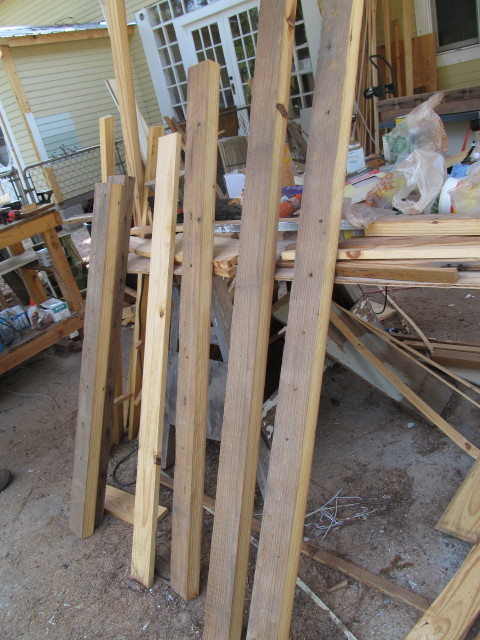
This table can be made using standard 2×4 and plank lumber bought at Home Depot, but we knew we wanted to use old lumber. We already had old reclaimed floor joists that we could use to build the table legs.
We wanted to use wide planks for the top of our desks — at least 12″ wide — fewer seams makes for an easier writing surface. Plus, the planks needed to be at least 14′ long — enough to make two desks, each 7′ in length.
We have reclaimed rough-sawn planks from our first salvage project, but decided not to use it — it just felt it was a little too rustic for our needs. We also don’t own a planer (yet) and sanding them felt somehow …. wrong. (The beauty of that wood is seeing the old saw marks.)
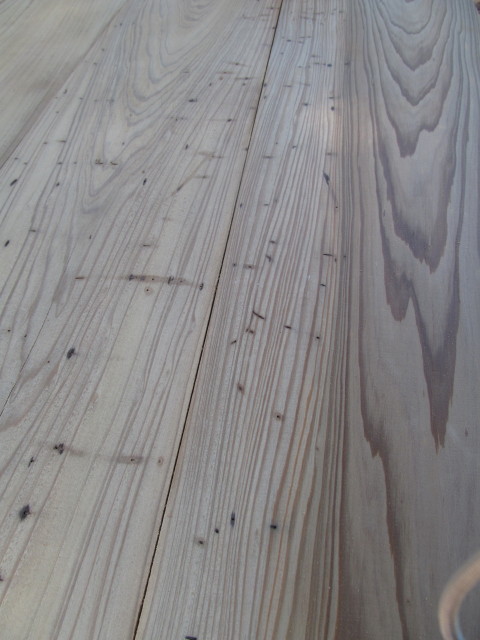
So we decided to buy reclaimed lumber, and we we were lucky to find some gorgeous sinker cypress at a local lumber mill. They fit the bill — they were long enough, wide enough, and affordable. The grain was also just …. wow! Don’t you agree?
How We Built Them
Here’s how we built each desk.
1. We first cut the floor joists down to make 2×4’s. We also cut the cypress planks to 7′ in length. (We did this using our handy dandy table saw that we bought off Craigslist, and a few other common hand tools.)
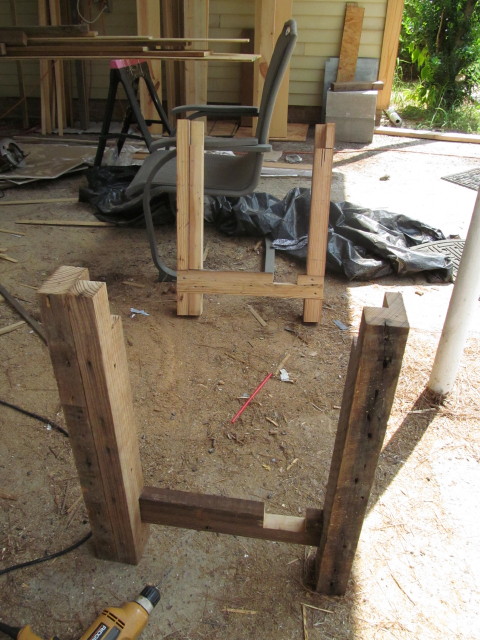
2. Then we cut down the 2×4’s to 28.5″ in length. We cut 2 of them for each leg (8 total) — two will be stacked together to make one leg. For purposes of the instructions below, I’ll call each of the sets Leg X and Leg Y.
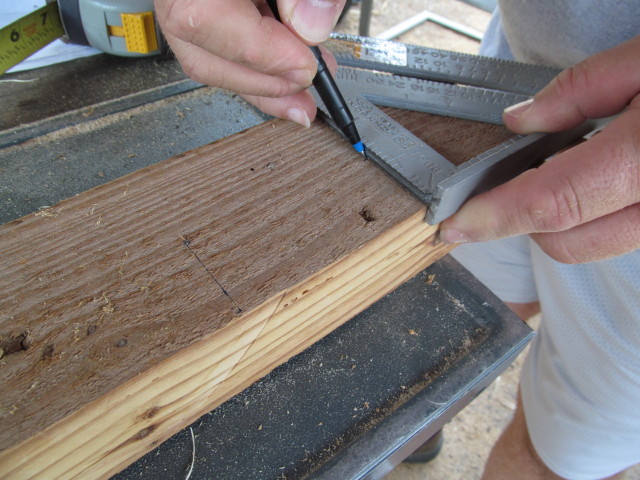
3. We then marked and notched out Leg X, using a jigsaw, as shown in Step 1 of Ana White’s instructions (see link above). We did this a total of 4 times.
4. Next, we notched out Leg Y, again using a jigsaw, as shown in Step 2 of Ana White’s instructions. We did this a total of 4 times.
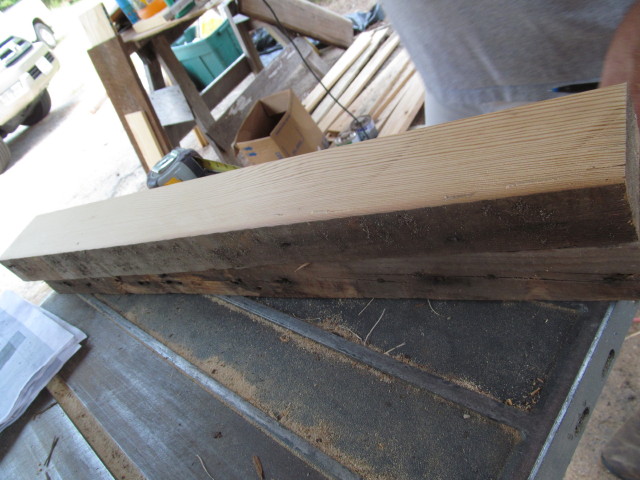
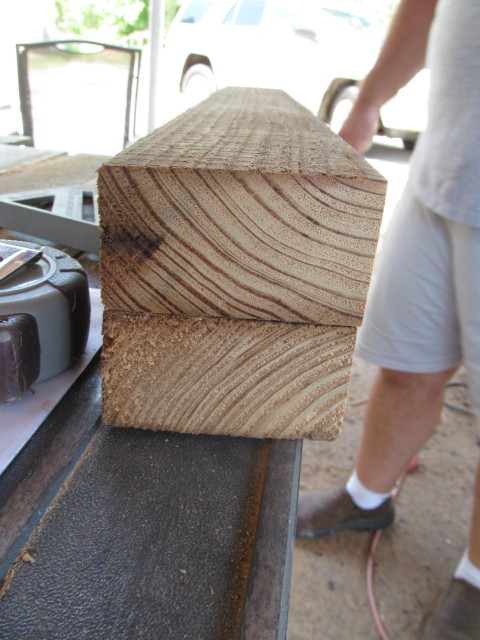
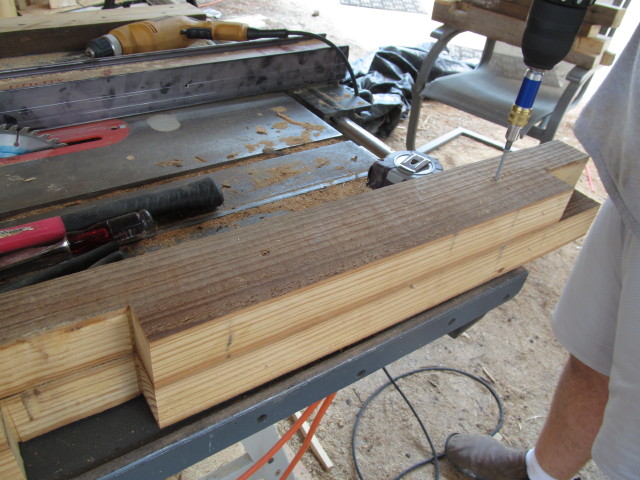
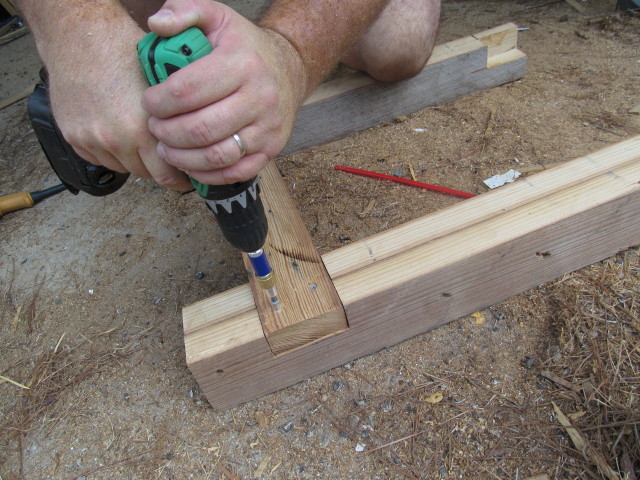
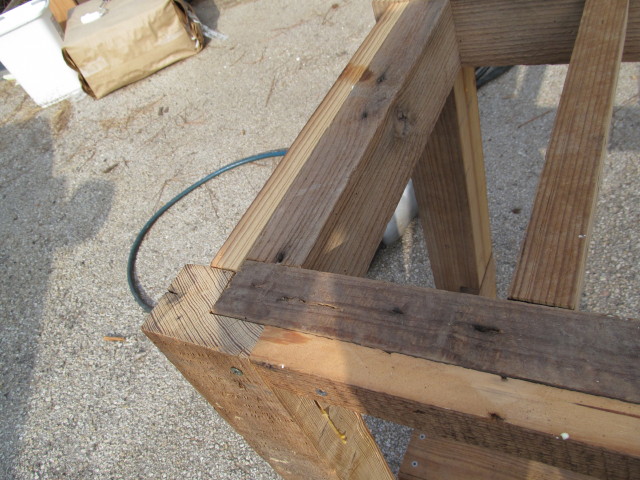
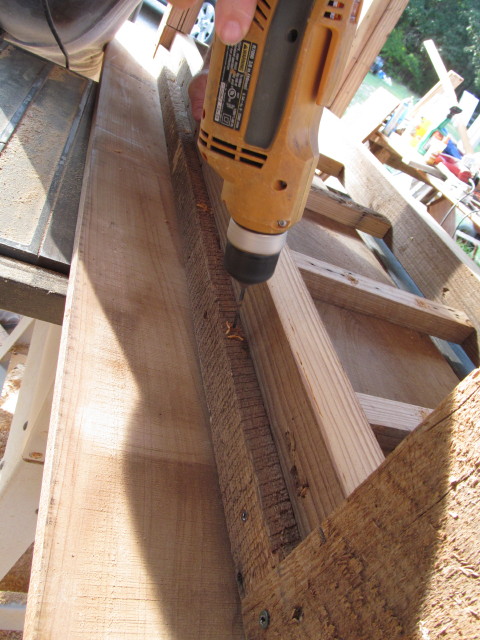
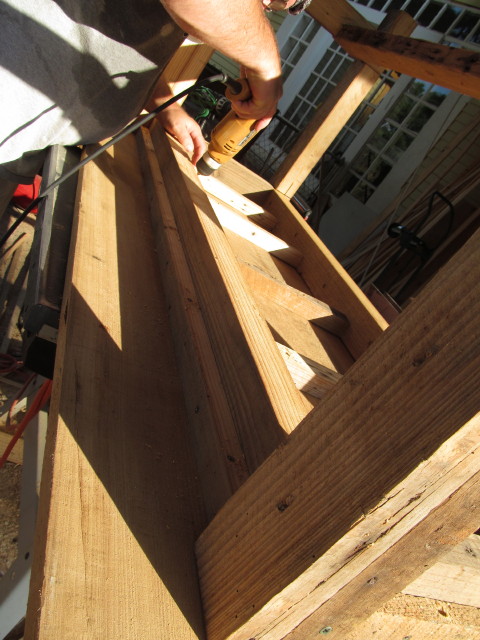
5. Then we stacked a Leg X and Leg Y together, and glued and screwed them together. We pre-drilled the holes and countersunk the screws. This is illustrated in Step 4 of Ana White’s instructions and in the photo below.
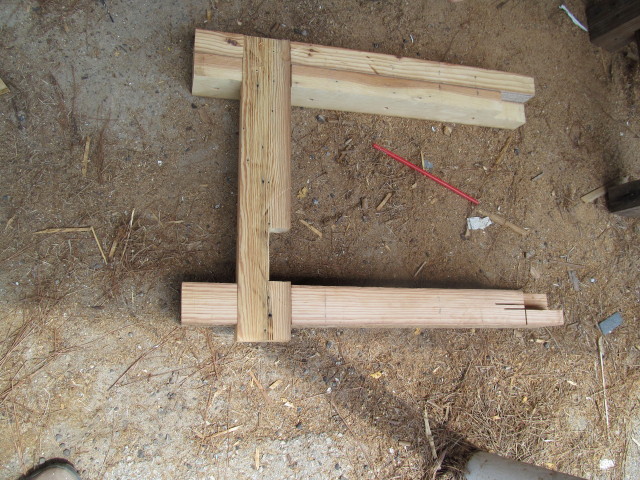
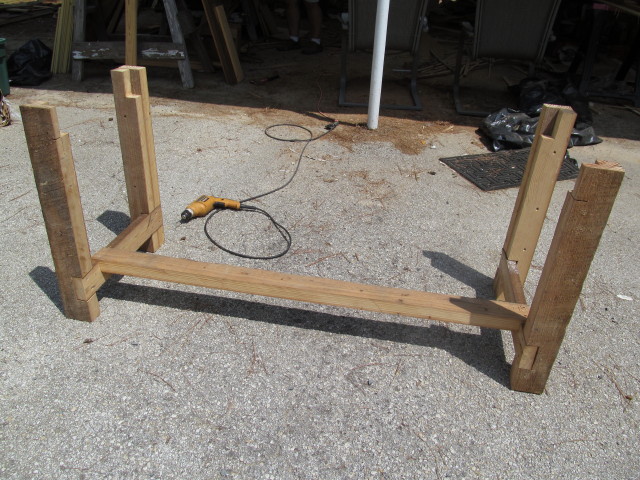
6. We then joined two sets of legs and a table support together. (See Step 5 on Ana-White.com.) We did this twice to form the legs for the left and right side of the table.
7. Next we made the bottom frames. (See Step 6 on Ana-White.com.) If you look close, you’ll notice her instructions specify putting the notch in the center. We elected to notch the boards off center. We did this because we wanted plenty of room for our feet when we’re using the office desks.
8. We then glued and screwed the two sets of legs and the table stretcher together. (See Step 7 on Ana-White.com.)
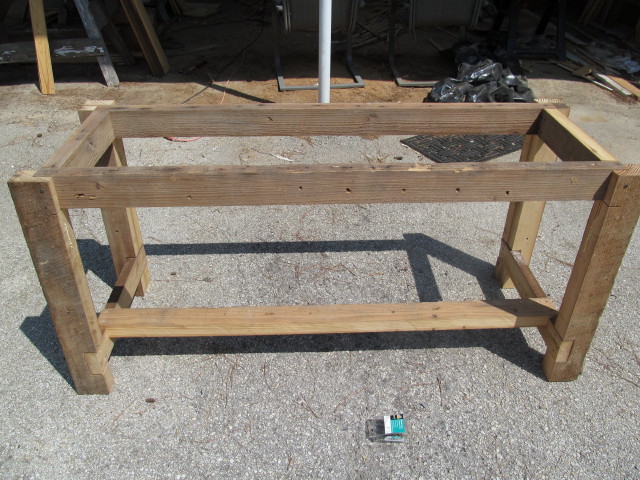
9. Next we made the table apron (Step 8), then attached it to the table base (Step 9).
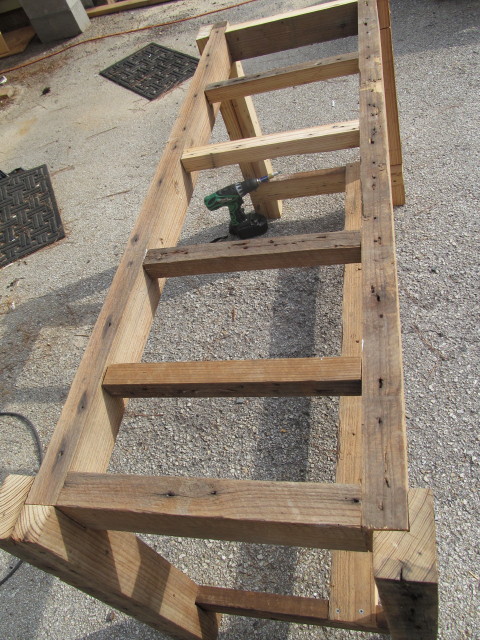
10. We then cut 1×1 slats for the top to support the tabletop. We glued and screwed them in. We cut and installed just 4, not the 10 shown in Step 10. We felt 4 slats was more than sufficient.
11. We then installed 2 front trim and 2 side trim pieces using 1×1’s (Step 11).
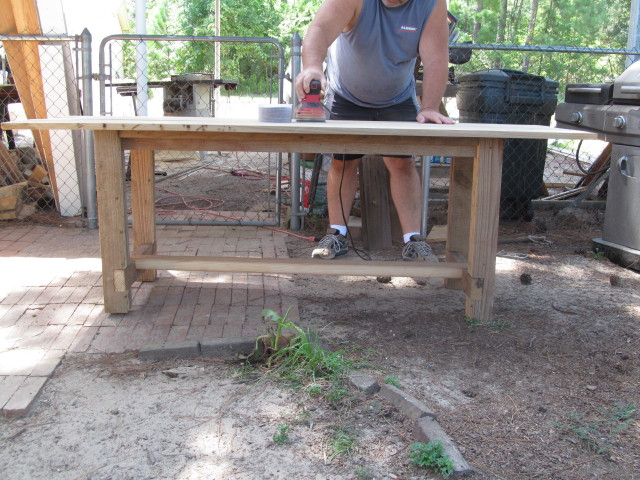
12. We then turned the table over and used gravity to screw the cypress planks to the table base. We secured the planks to the trim pieces and the table slats.
Ready for Finishing
That was it! Now I just need to decide how to finish the desk. Should I paint or stain it? Apply a natural oil?
Please comment below and help me decide!
[Update: To see how I refinished our desks, click here. Also, if you’d like to see our finished home office, please click here.]
i have told jacob this is what i want for Christmas!! love love this!! =)
Thanks, Rikki Leigh!
Looks like your husband did all of the work to me.
Hey There Kim and Mark,
Great to see you the other day. We’ve got to get together again really soon.
Love you new desk. …Mark’s becoming quite the carpenter, isn’t he!
Looking forward to seeing the finished product, in person!
Hugs, Drue
Yes, it’s been too long! We are LOVING our new desks.
We are using some of the old wood from the house that was your first salvage house. We are adding a 10 x 30 foot deck to the back of the house.
Awesome! Can’t wait to see how it turns out. I’m sure it will be beautiful as are your other woodworking projects.
Finally finished my desk. Check it out: http://tinyurl.com/8m4ennn!
It’s amazing to visit this web page and reading the views of all mates regarding this paragraph, while I am also keen of getting knowledge.
Howdy there, I encountered your web log via Google while looking for
for 1st help as well as your post looks really fascinating for me.