It’s time to share our master bathroom project.
Before I do that, my husband (who is so good in Photoshop) drew up a floor plan of the bathroom “before” and “after” so that you can visualize how we reconfigured the space.
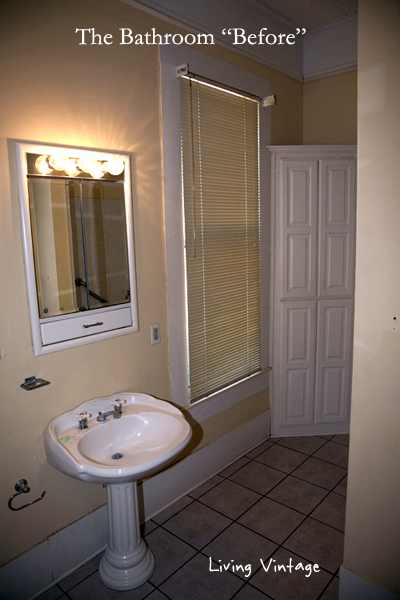
BEFORE:
AFTER:
Here are the reveal photos.
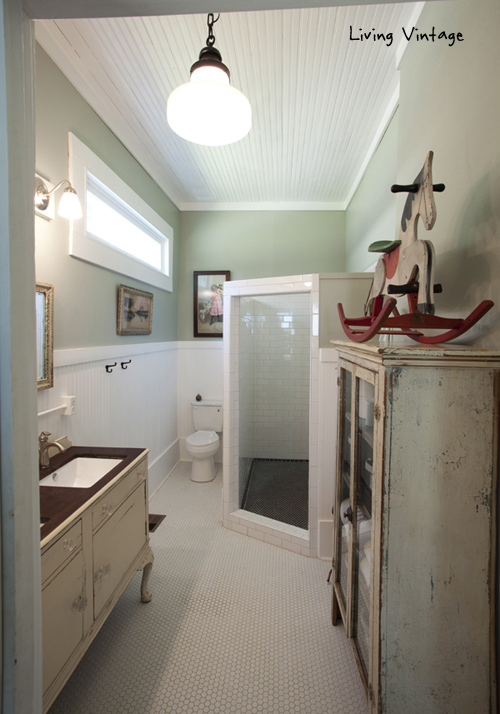 We mounted an old schoolhouse light on the ceiling.
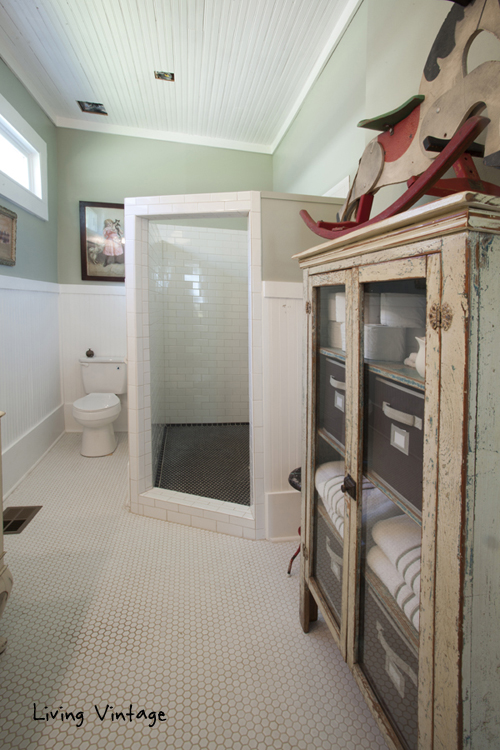 Our custom walk-in shower is so large, we don’t need a door or curtain. I had an (expensive) glass door on my shower in Austin, and I hated it. It was so hard to keep clean.
The holes in the ceiling above the shower are for an exhaust fan and another ceiling light, which we still need to get done.
Seems like little things like that take forever to get done.
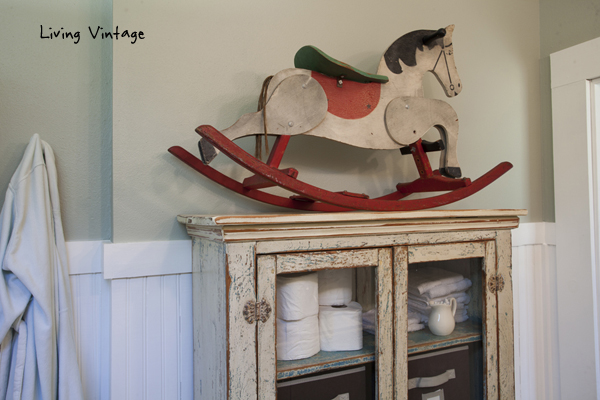 We added a touch of red to the bathroom by bringing in the vintage rocking horse. She’s since been moved to the living room, and we put an antique child’s car on the top of cabinet. It’s red, too. One of these days, I’ll share another photo.
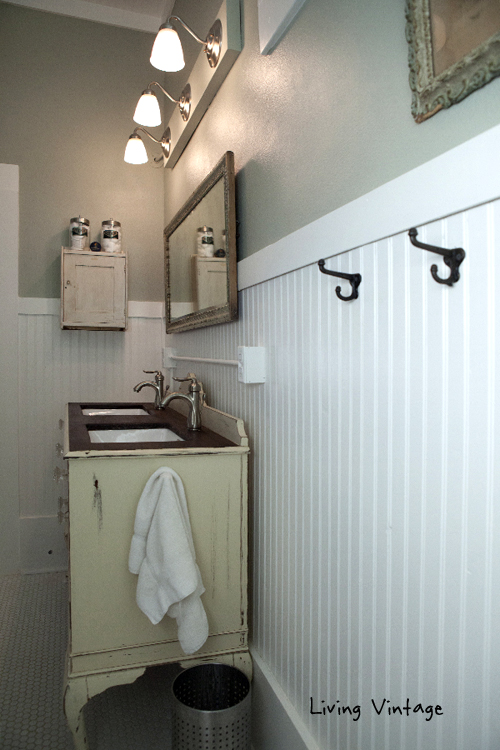
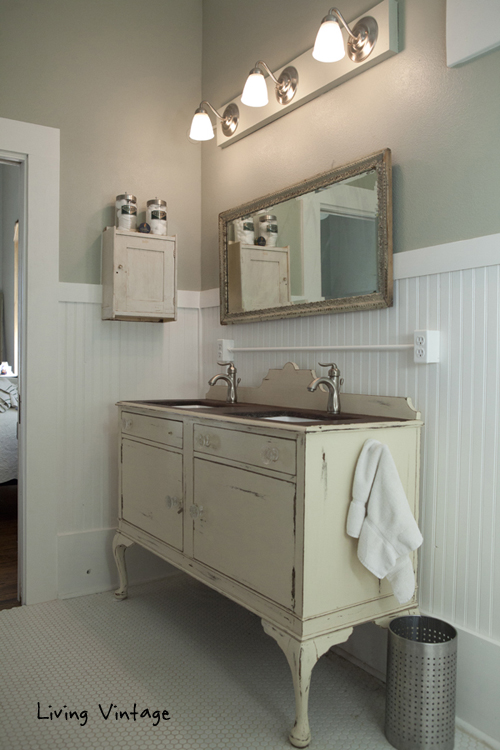 I couldn’t be happier with our custom bathroom vanity. It’s compact enough for our relatively small (and narrow) bathroom, but still has double sinks, which personally, I think is a must in a master bathroom.
Plus, it’s also got handy storage underneath, something that always makes me say “no thanks” to pedestal sinks.
Notice the lights and the electrical plugs? Our electrician had to get a little creative with it because our walls are solid wood and the walls were spray-foamed prior to doing the electrical rough-in. This was as much his goof as ours.
Honestly, the exposed conduit doesn’t bother me one tiny bit because I like the industrial vibe anyway.
One last thing: there is a busted knob on the cabinet I know. We need to fix that.
Oh, and as I mentioned earlier, we moved and mounted the towel hocks above the HVAC vent on the floor. They were too close together on the other wall, plus the vent helps to dry the towels a little faster. We also installed hand towel hooks on both sides of the bathroom vanity.
You can also see we installed the little cabinet.
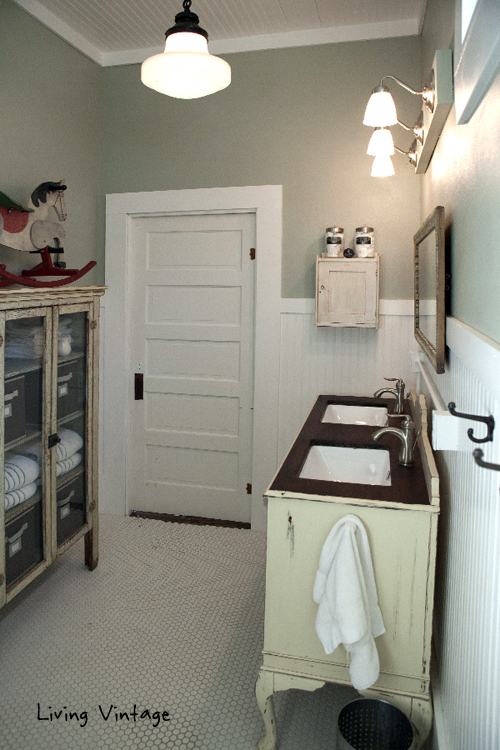 We installed a pocket door when we framed out the entryway to our ensuite bathroom. We used an old 5 panel door that we removed somewhere else in the house. (For example, there’s no door between the kitchen and office.)
I LOVE pocket doors, don’t you? They are a real space saver.
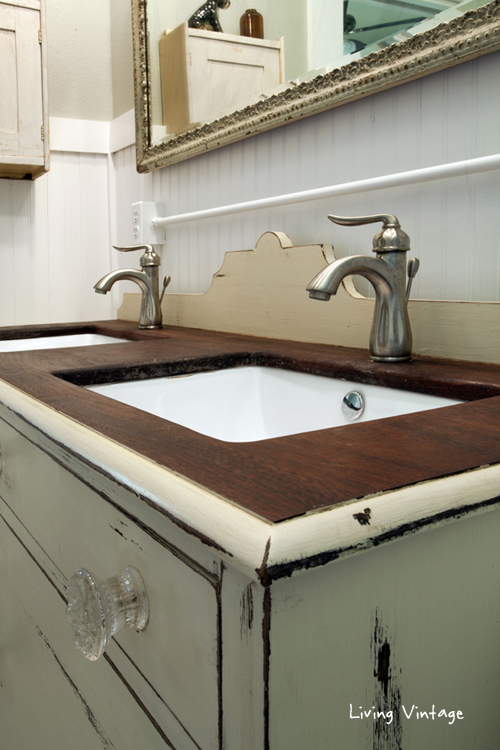 The Miss Mustard Seed wax sure did darken the top of the vanity, making it a rich brown. And ‘so far so good’ keeping moisture at bay.
Oh, and the dog and old bottle reflected in the mirror didn’t live there for long. I much prefer what I’m about to show you.
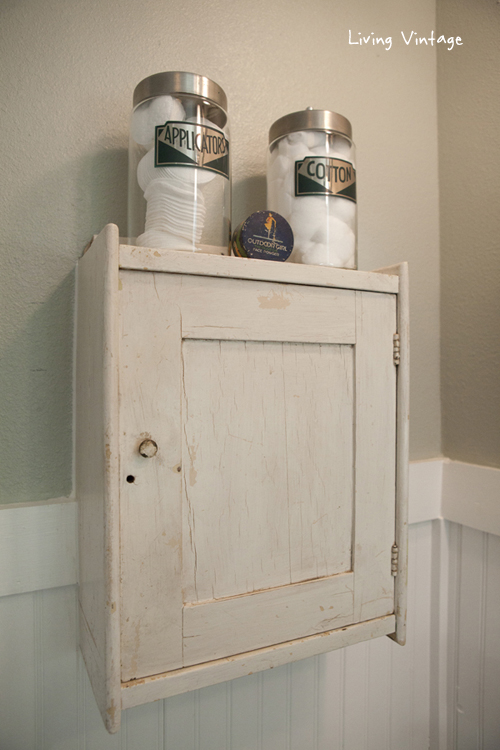 I love this little cabinet that we bought. It is so handy, and I love little cabinets. They’re just so cute.
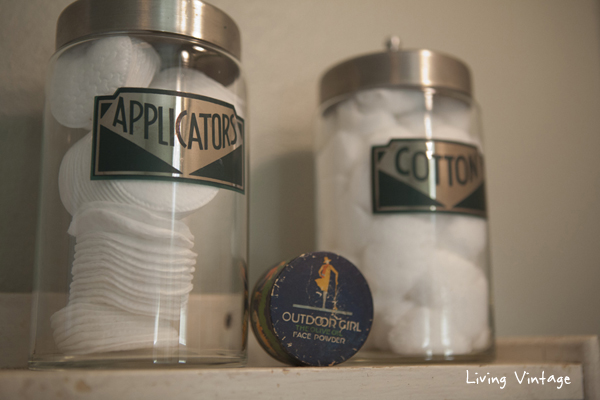 The apothecary bottles and face powder are all vintage. The bottles are art deco-y, and I normally don’t go for that, but I like these because they’re green.
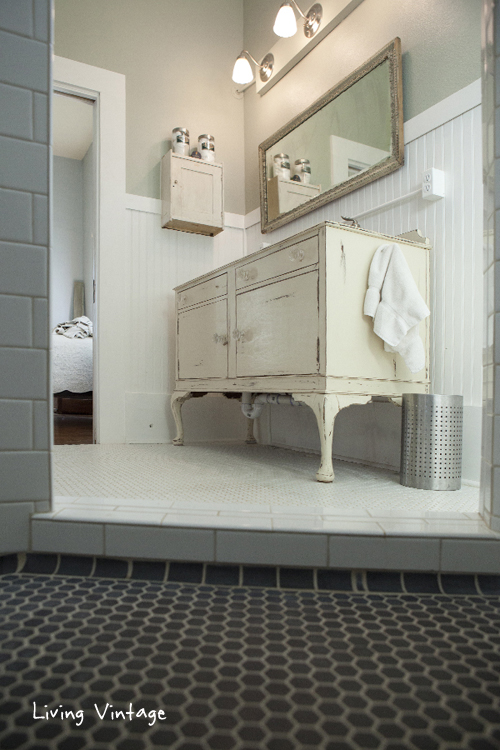 This clever shot shows off our bathroom shower tile. I hope to never have to look at it from this level.
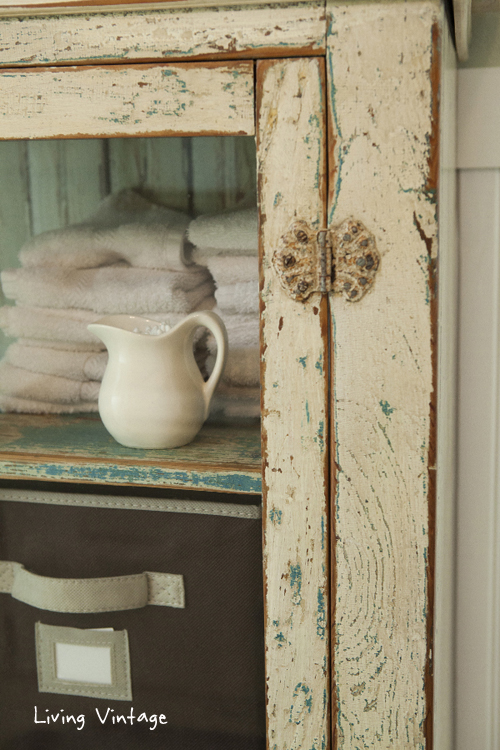 Here’s another photo of my yellow, chippy cabinet. I use the miniature pitcher to store Q-Tips and display them in a pretty way.
So that’s our bathroom. I think it’s a huge improvement over what we had to start with.
What do you think?
******************************
I read and appreciate every comment. Thank you for letting me know what you think!
******************************
I’m linking to these parties:
Mod Mix Monday @ Mod Vintage Life
Party Junk @ Funky Junk Interiors
What’s It Wednesday @ Ivy and Elephants




Looks great! Love the shower. We need to make our shower larger also. I would prefer not having a glass door also. Could you share the distance between the shower head and the shower entry? Thanks in advance. ~Linda
Sure! I’ll get that measurement for you.
Hi again, Kim. Thank you!
Linda, I apologize for the delay in getting back with you. The distance from the showerhead to the shower doorway is 2 feet, 10 inches. I will tell you that we turn the showerhead slightly to the left to prevent any spray from exiting the shower. Also, the shower doorway still does get a little bit of spray, but it’s minor and dries very quickly. It’s no more than gets wet when someone exits the shower to dry off. Does that make sense?
Hi, Kim! You are so sweet to take the time and do this for me. 🙂 I will have to go and measure to see if this is a possibility for our shower area. I understand about the spray and turning the showerhead away from the doorway.
~Linda
Hi Kim,
Looks great! Great minds think alike. We are remodeling a home and have installed bead board and a paint color very similar to yours (beach glass from B. Moore) and we are installing subway tiles in our shower.
You got it! 🙂 Beadboard plus subway tile is a classic look that never gets old, in my opinion. I’m sure you agree since you chose it.
Love it!
loooooooove it! That cabinet with the glass doors is so beautiful!
I know this if off topic but I’m looking into starting
my own blog and was wondering what all is needed to get set up?
I’m assuming having a blog like yours wluld cost a pretty penny?
I’m not very internet savvy so I’m not 100% positive.
Any tips or advice would be greatly appreciated. Kudos
Oh my gosh, the answer to your question would take forever to answer. I use WordPress as my blogging platform and suggest you read WordPress For Dummies ” title=”WordPress for Dummies” target=”_blank”>WordPress for Dummies … not that you’re a dummy! I read the book before I got started and it was extremely helpful.
Love, love, love it!!!!
Hi Kim! Great redo. So many things I like about this. Love the colors and all the pieces you have incorporated into the space. Quite a change from “before”! Great job!!!
LOVE your amazing bathroom transformation! All the vintage touches give it so much character and charm. Just like you kitchen, this is fabulous, too! We’d love to have you share it with us at WIW.
Patti
A stunning change!! I love it all! The rocking horse is so cute on top of the dresser. A surprise object!
Hi Kim, love the re-do! thanks for sharing with us on Brag About It! we LOVE your blog.
~ Sharon and Denise @ BeBetsy.com
My pleasure, Denise! Oh, and your blog is extra lovely also! Something to aspire to …
You did an absolutely awesome job on this bathroom! We are going to be expanding our main bathroom sometime in the future (soon I hope!) This transformation really inspires me. I found you at Ivy and Elephants.
I’m so happy to hear that!
I featured your bathroom today on Mod Mix Monday at Mod Vintage Life!
AWESOME! Thank you!
Your bathroom is totally amazing! LOVE every bit of it! Just pinned (numerous times. lol) and clipped it to my Hometalk board of Fabulous Farmhouse Bathrooms!
Oh my gosh! I’m delighted to hear that, Denise! Glad it suited your fancy.
Hey! Someone iin my Facebook group shared this site with us
so I came to give it a look. I’m definitely loving the information. I’m book-marking and will be tweeting thijs to my followers!
Exceptional blog and superb style and design.
How did you run the plumbing for the sink and spigots without it getting in the way of the drawers in the buffet?
We didn’t. The front drawers are not functional and glued in place. I have seen that the interior of drawers can be cut around plumbing, but we didn’t feel like we needed to go to the trouble since we had plenty of storage behind the two doors.
Lainie, thanks for featuring my bathroom! I’m glad you like it. 🙂