We completed our beadboard project in Bryan.
We were hired to install reclaimed beadboard to the ceiling and bookshelves in Katie and Ryan’s sunroom. They had bought the old beadboard on Craigslist, and they wanted us to clean, install, and polyurethane it.
Here’s what we did and how we did it.
(If you just want to see the finished project, just scroll to the bottom!)
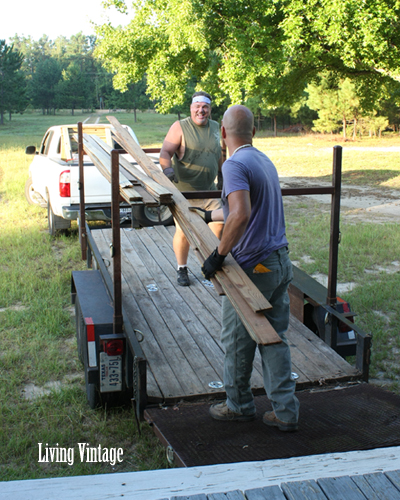
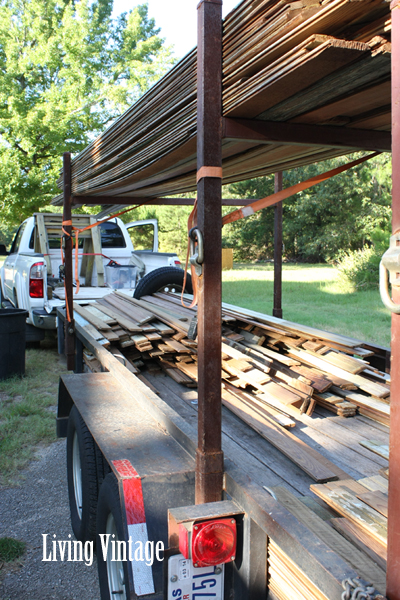
On the morning of our first day, the guys loaded up the beadboard while I carted our dogs into town to board them for a few days.
By the time I got back, they were loaded up. (Yay for me!)
After tying everything down really well, we hit the road to Bryan.
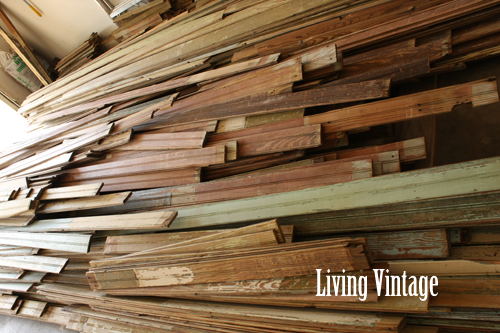
We arrived in Bryan right after lunch,and we started unloading all of the old beadboard into our client’s garage.
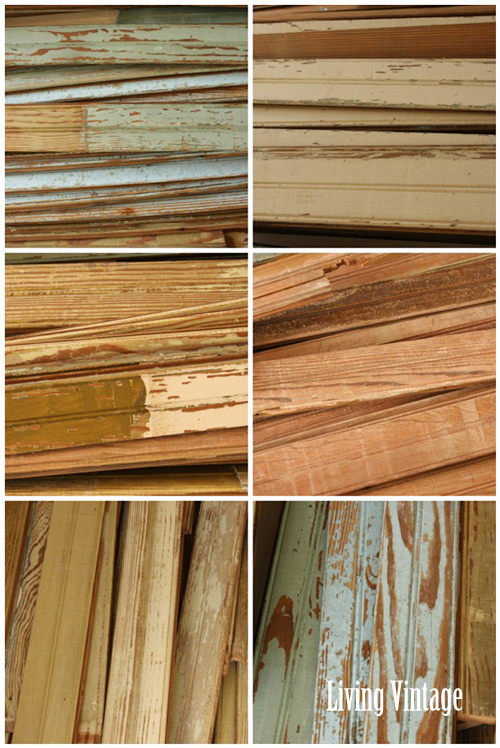
As we unloaded, we took our time organizing the pile by color as best we could. We knew it would make installation easier, plus we could assess how much we had of each color.
I still can’t believe I cleaned all of this!
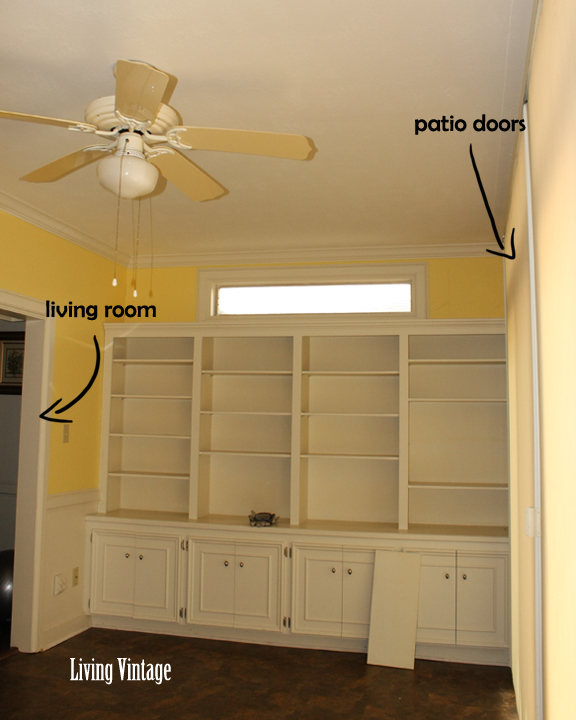
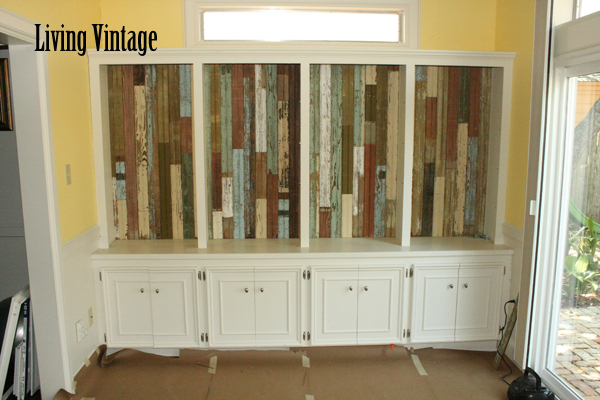
We got right to work in Katie and Ryan’s sunroom. This photo shows the room before we did any installation work.
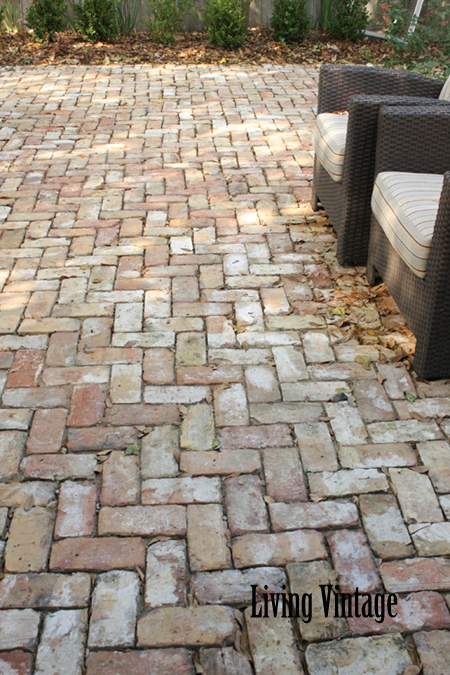
The patio doors in the sunroom open up to a brick patio paved with old bricks. I thought it was so lovely, and if I lived there, boy howdy, would I be spending quality time out there! I admired it multiple times before the job was done.
We got a lot of prep work done on the first day.
First, the guys assessed if we would need to install plywood to the ceiling. Fortunately, they discovered that there was already plywood underneath the drywall. So that made our lives easier and the final invoice less expensive.
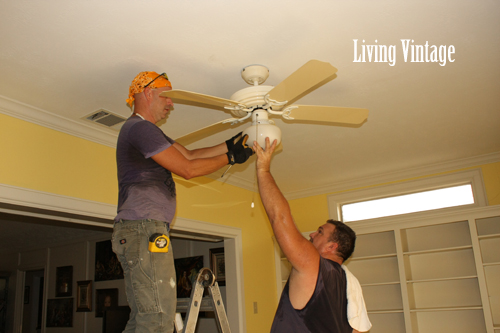
After that, the guys removed all the shelves in the bookcase, the ceiling fan, the HVAC covers …
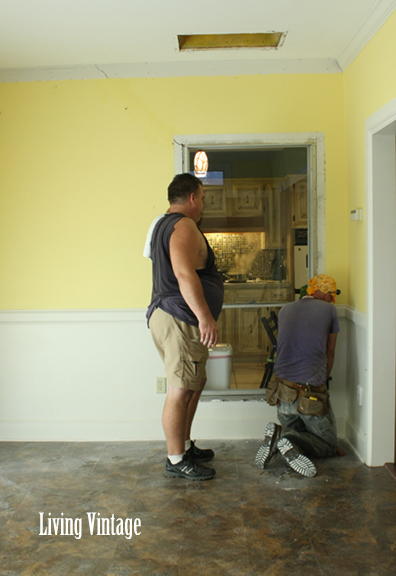
Although not within the scope of the project, we also offered to remove a window that originally opened up to the backyard. Katie took us up on that offer.
(Katy and Ryan’s sunroom is an addition to their home. Whoever originally did the work left the original window in place. I have no idea why.)
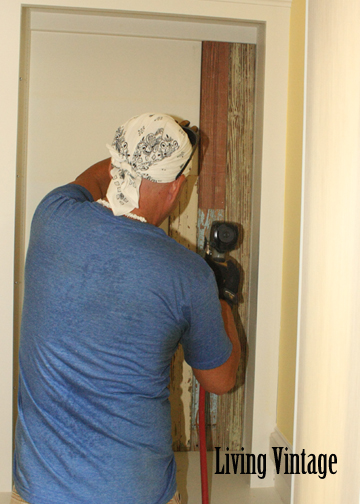
We started with the bookshelves first, to get the smaller part of the job out of the way first.
It was a team effort.
John did the nailing.
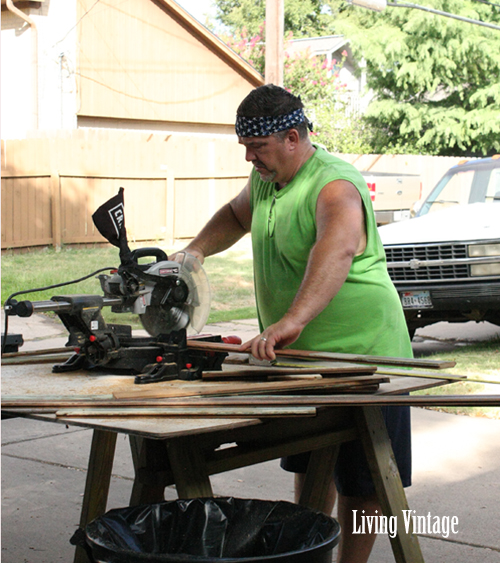
Mark did the cutting in the driveway under a shade tree.
I was the runner and message girl, communicating measurements and color choices. That’s what I did the first day, anyway.
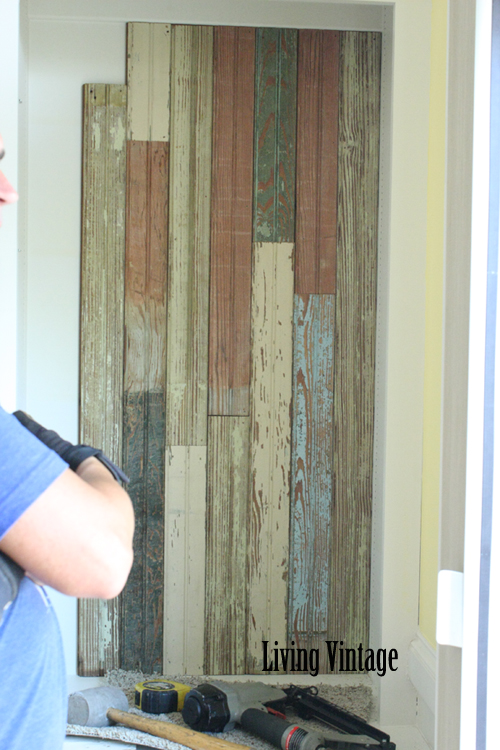
Here’s what the bookshelves looked like after (almost) 7 rows ….
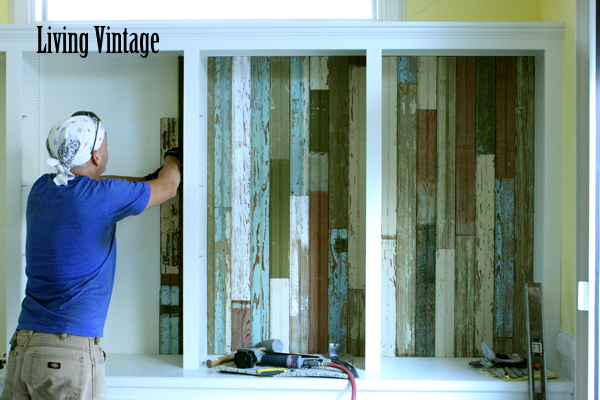
Here’s what they looked like when we were about halfway done.
This is what the bookshelves looked like at the end of the first day.
The next day, the guys immediately got to work on the ceiling. We were sure to cover the floor with craft paper to protect it.
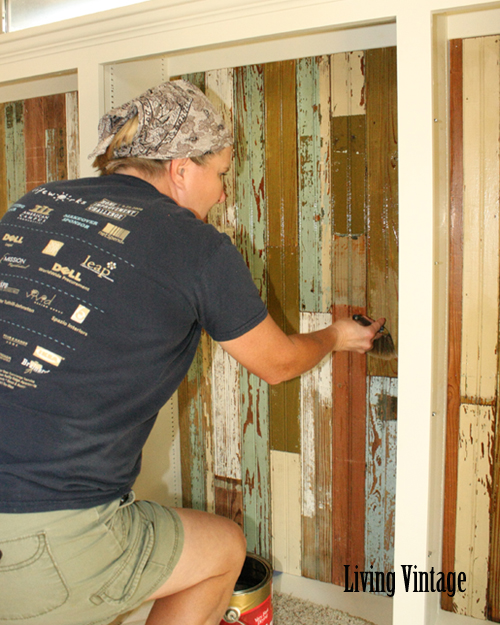
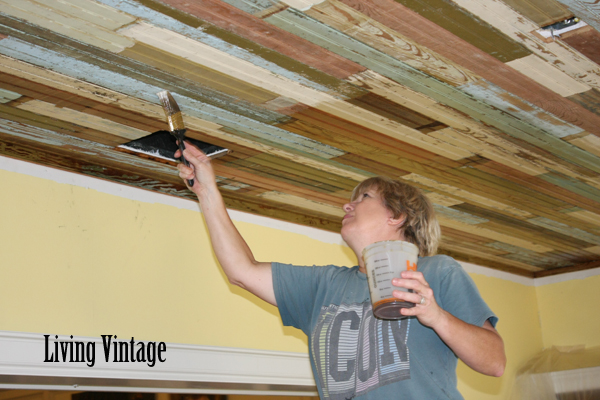
I started painting, slathering on the first of two coats of satin polyurethane.
We almost always coat old, painted wood with polyurethane. There’s a reason for that. Actually, three.
The old boards may have been painted with lead-based paint, and the polyurethane adds a protective coating, prevents any future paint from flaking, and amplifies the richness of the colors.
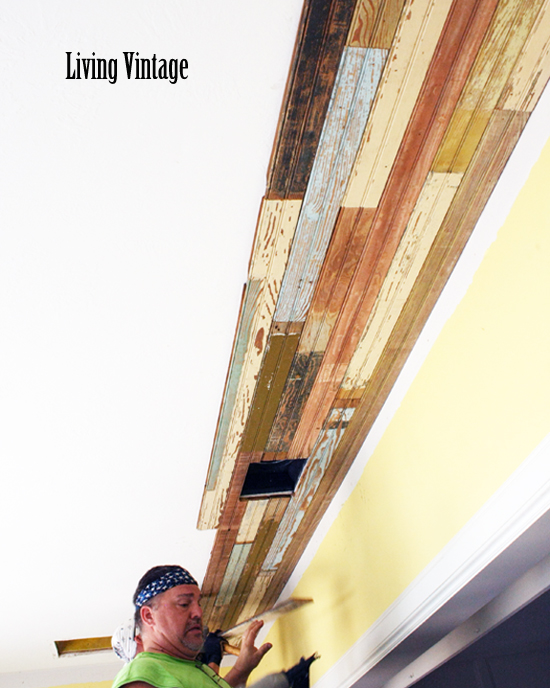
As I was doing my thing, the guys were making good progress with the ceiling.
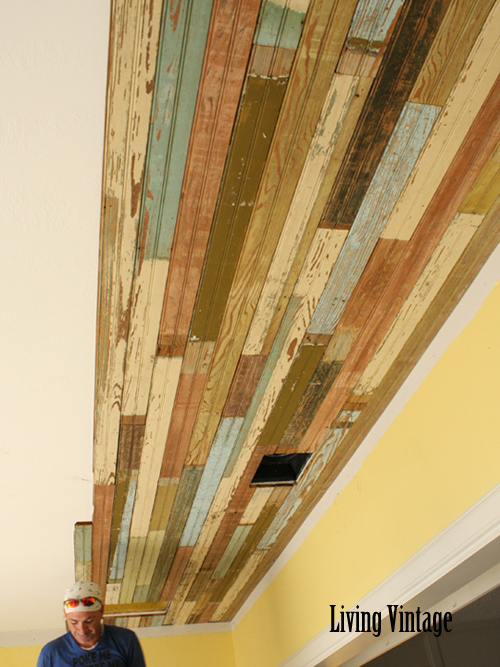
When they were about 3/4 of the way done with the ceiling ….
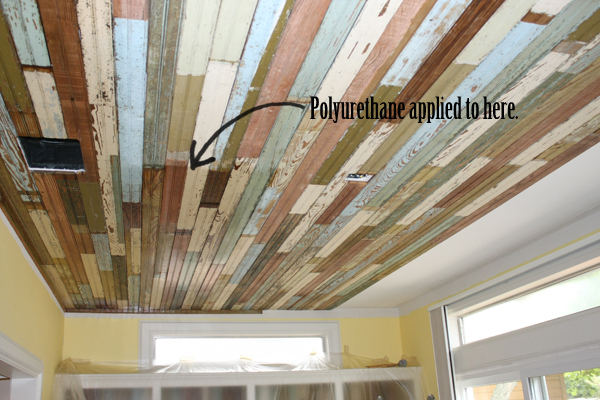
… I started on the other side of the room, polyurethaning. The room was big enough and I knew I wouldn’t get in their way.
Plus, we were trying to be as efficient as possible. We had labor and travel expenses we were trying to minimize!
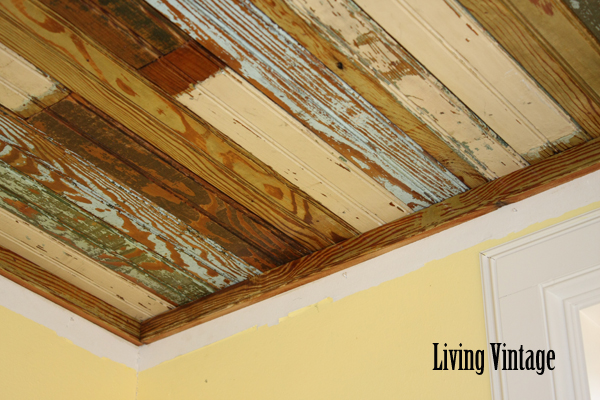
Of course, we covered up the bookshelves with plastic before I got started. The guys also installed the trim on part of the ceiling so that I could paint it. We simply ripped down pieces of beadboard to make the trim.
This photo gives you a really good idea how polyurethane deepens a color.
OK, so that’s HOW we did our project.
All that’s left to do is to show you the finished work!
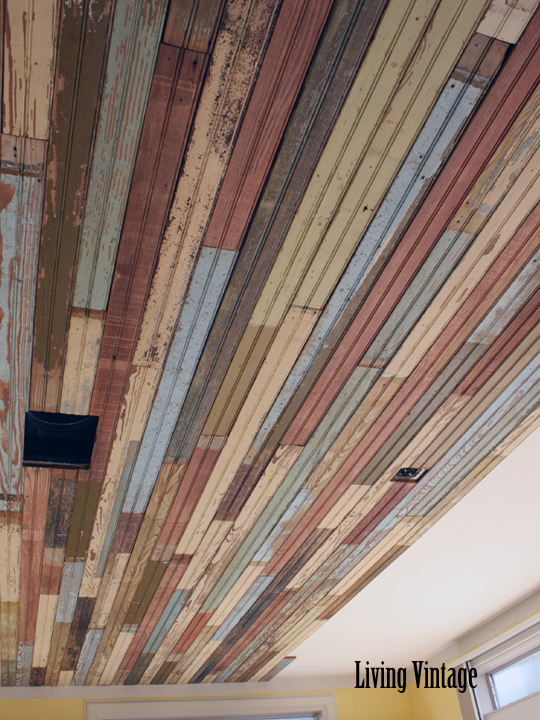
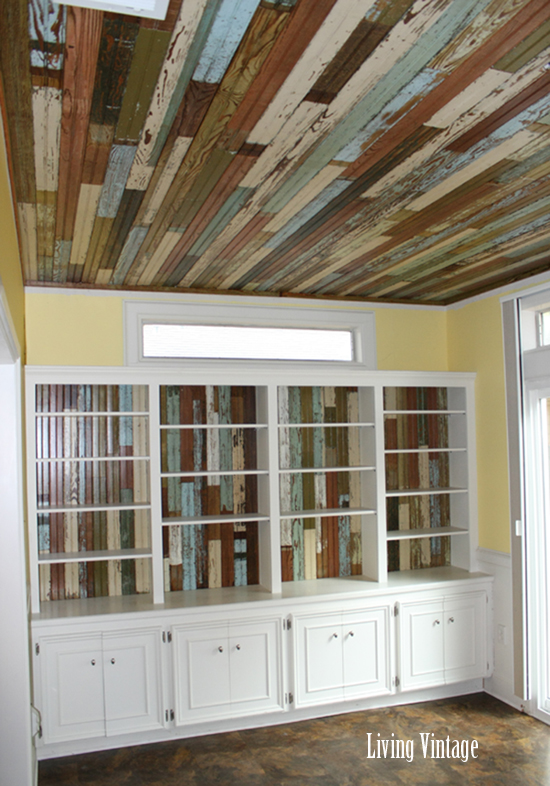
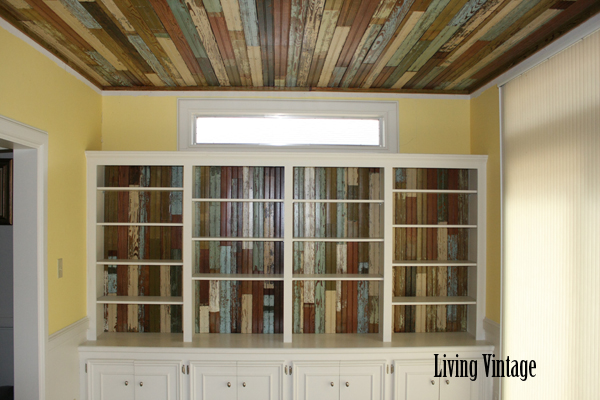
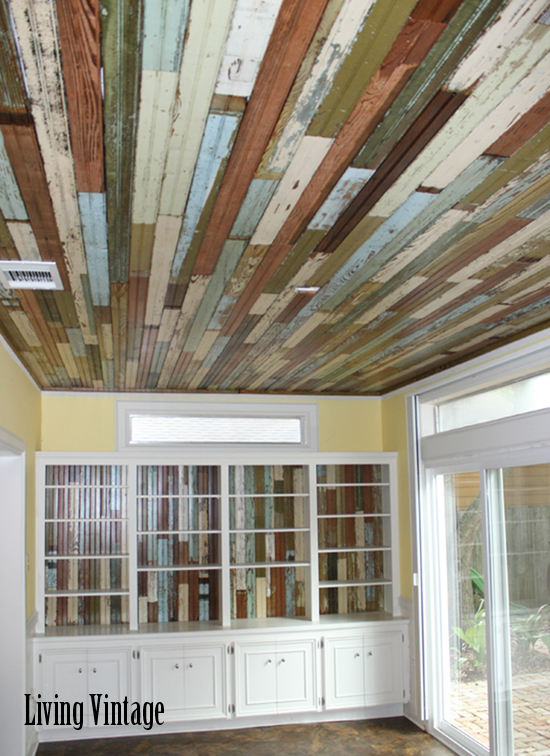
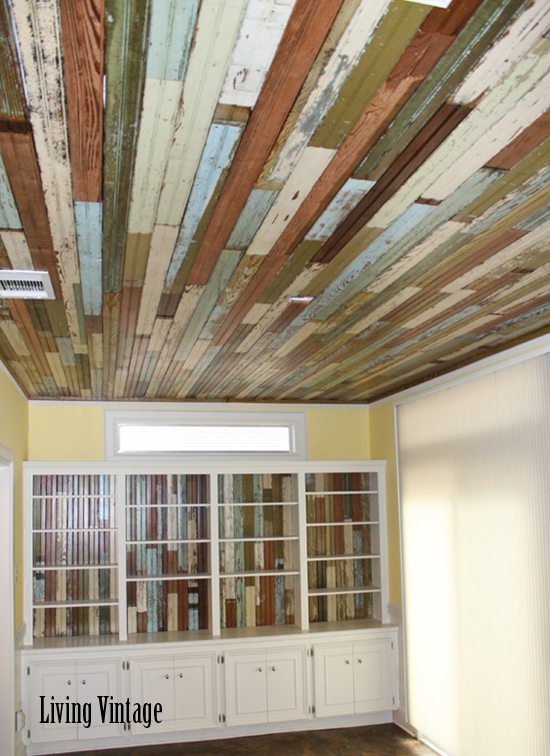
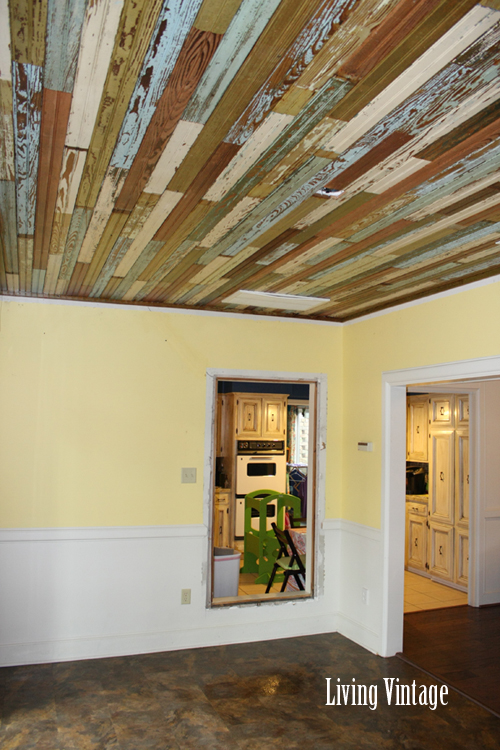
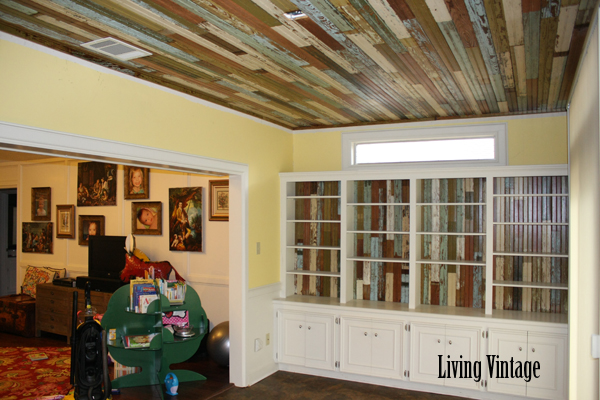
Here it is!
(Please note that the colors in the beadboard look extra vivid because the stain polyurethane was still wet when these photos were taken. The vividness will fade a bit after the polyurethane dries.)
Here’s a view towards the kitchen. Katie and Ryan are going to patch the hole where the window used to be.
Here’s a view towards Katie and Ryan’s living room.
We thought it was so pretty, and we were proud of our work. More importantly, the homeowners were thrilled with it!
******************************
I read and appreciate every comment. Thank you for letting me know what you think!
******************************
I’m linking to these parties:
Be Inspired @ Common Ground
Clever Chicks Blog Hop @ The Chicken Chick
DIY Sunday Showcase @ PinkWhen
Feathered Nest Friday @ French Country Cottage
From Dream To Reality @ The DIY Dreamer
Frugal Friday @ The Shabby Nest
Give Me the Goods Monday @ Rain on a Tin Roof
Hooking Up with House of Hepworths @ House of Hepworths
Inspire Me Please @ Liz Marie Blog
It’s Party Time @ 3 Mango Seeds
Knick of Time Tuesday @ Knick of Time
Masterpiece Monday @ Boogieboard Cottage
Monday Funday Link Party @ Uncommon Designs
Moonlight & Mason Jars Link Party @ The Newlywed Pilgrimage
Motivated Monday @ Be Colorful
Nifty Thrifty Sunday @ Nifty Thrifty Things
Show & Tell Saturdays @ Be Different Act Normal
Show Me What Ya Got @ Not Just a Housewife
Simple & Sweet Fridays @ Rooted in Thyme
Spotlight Saturday @ Classy Clutter
Strut Your Stuff Saturday @ Six Sisters Stuff
That DIY Party @ DIY Showoff
The DIY’ers @ Homecoming
The Inspiration Exchange @ Ella Claire Life. Inspired.
The Scoop @ Cedar Hill Ranch
The Weekly Creative @ The Girl Creative
Treasure Hunt Thursday @ From My Front Porch to Yours
Tweak It Tuesday @ Cozy Little House
Two Girls and a Party @ Life With the Crust Cut Off
Weekend Creativity Round Up @ If It’s Not Baroque
What Have You Redone? @ Redoux
Wicked Awesome Wednesday @ Handy Man, Crafty Woman
Wildly Original @ I Gotta Create!
Wow Us Wednesdays @ Savvy Southern Style

love it! It’s like having art on the ceiling! The varied colors are beautiful! I know this was a lot of work..but you guys did an amazing job! Bet you need a massage after that one!
You certainly took that room from blah to WOW! It’s lovely! And your slathering (LOL) makes the beadboard colors POP. A beautiful addition to the home.
Wow!! Love how it looks! Would love to find a stash with all those neat colors like that. You do amazing work, and yes, I recognize how much work that was to clean, move and install all of that. Nice job!
kim – this is beautiful – i saw the room this morning on a blog and immediately pinned it as I WANT THIS.
have a glorious weekend.
Thank you so much, Teresa! I wish we lived closer. We could help you with that wish. 🙂
If your client has not thought about this, They might consider some open shelves from one space to another. It’s a really fun idea for nick nacks that really have no particular home and it leaves an open feeling as well. If it’s some treasured items, they could glass it and put doors on one side for occasional cleaning or changing out treasures. I think it would be a fairly inexpensive and relatively easy fix for them.
Just a thought
Hugs, Drue
PS, I forgot to mention how nice it made that room and complimented the adjoining room as well.
Y’all did a very nice job there. I’m sure the clients were extremely pleased with the project!
Hugs, Drue
Thanks, Drue!
Just gorgeous! That would also make a really neat backsplash for a white kitchen ~ love it!
Yes, I love beadboard as a backsplash! Did you happen to look at my kitchen?
Wow. Looks fantastic. I would love it if you would link this up to my link party that is going on right now.
http://www.ifitsnotbaroquedesignblog.blogspot.com/
Thanks, Lauren. I strolled on over to your blog and participated in your party.
Absolutely, positively, breathtaking beautiful. What care you all took in your selection of color throughout the whole project. It truly is a work of art:)
Wow! Thank you so much, Kathy! Glad you you could tell we wanted to do an extra special job for Katie and Ryan.
I love the reclaimed wood. It just tells it’s own story! I so wish it were readily available near me. Great job!
Yes, it has a character all its own, that’s for sure. Thanks, Kathy!
Wow! That is really cool! I love it!
Thank you, Ida!
I LOVE, LOVE how the bead board turned out!! When I get ready to re-do my kitchen, I hope youall have some old painted bead board in your “warehouse” you can sell me. The backsplash idea is just up my alley, and I love all the different colors.
Awesome! We would love to be able to help you when the time comes …
I love this project! It turned out amazing. I have a friend who did this to her art niches in her home and above her two story fire place. I would love to find wood like that!
Thank you, Pamela. I love beadboard pretty much everywhere, and I’m sure your friend’s project looked amazing. We have lots of old beadboard because we salvage old houses. I’m looking forward to diving into your blog and looking around. Seems we have very similar taste!
This is AMAZING!!!!! Im in AWW! Deff be pinning this project! Its beautiful!! Thanks for sharing on DIY Sunday Showcase!
Shelly @MinettesMaze
Thank you so much, Shelly!
Wow! This looks really cool! I’d love for you to link up to The DIY’ers. http://homecomingmn.blogspot.com/2013/08/the-diyers-and-last-weeks-top-three.html
I’d be happy to!
That is absolutely gorgeous!
Thank you, Karen. 🙂
WOW…love that you left the wood with the fun paint colors. Looks great 🙂
Just gorgeous – what a beautiful room !!!
XOXO
This looks awesome!!! We would love it if you would link up at our linky party:
http://www.lifewiththecrustcutoff.com/two-girls-and-a-party-link-up-31/
Live every Wednesday to Sunday.
Hosted by:
http://www.lifewiththecrustcutoff.com/ Parrish @ Life with the Crust Cut Off
http://thissillygirlslife.com/ Dana @ This Silly Girl’s Life
We hope to see you there!
Thank you! I’ll head on over there.
I flippin’ love this! The colors are so fabulous! Love, love, love!
Thank you so much! 🙂
I absolutely adore this project! What a fabulous and creative job y’all did! I’m in L-O-V-E!
Thanks for sharing it at the DIY Sunday Showcase!
Cheers to you and yours,
Therese @ Fresh Idea Studio
Thank you so much … and you’re very welcome! I’ll be back to participate often.
Thanks for linking up your creative project. Such a colorfully unique treatment that will definitely get you plenty of compliments.
pam
Wow, Kim! Wow! You all did a beautiful job! I imagine they WERE thrilled with it. It’s gorgeous. Next stop my house? haha! Thanks for sharing!
Yes, the homeowners were thrilled! I wanted them to sell me some of that beadboard SO BADLY, but they’re thinking they might want to put more of it in their home.
I absolutely LOVE it !!!! I wish I could find beadboard locally… I would love to do the same !
Gorgeous !!
Lynne
Thanks so much, Lynn!
Kim ~ the application is very beautiful. It makes it even more attractive knowing the intricate and time consuming work it required (with love obviously) to apply it the best way you possibly could. I adore the fact that now this family will be able to enjoy this gorgeous wood you saved and brought back to life. I followed you from Kelly’s Eclectically Vintage Blog then (with a nice bonus)~ I saw you live in my hometown. I went to A&M Consolidated High School. Are you from there? Anyway~ nice job. Really! D
I am constantly amazed and thankful to receive emails as lovely as yours, Denise. I am truly blessed.
To answer your question, I was born and raised in north central Texas, in a tiny little town called Knox City, out in the middle of nowhere. Knox City is located about 1.5 hours away from Abilene and Wichita Falls.